

Prepare your hands and space
Before you begin any massage techniques, establish a foundation of safety and hygiene. This preparation phase is not just about comfort; it is a critical step in preventing the spread of infection and ensuring the recipient feels secure. In high-stakes health and beauty contexts, the condition of your hands and the cleanliness of your workspace directly impact the quality of care you provide.
Clean and trim your hands
Start by washing your hands thoroughly with warm water and antibacterial soap. This simple act removes bacteria and reduces the risk of transmitting pathogens to the client. Ensure your fingernails are short and filed smooth. Long or jagged nails can scratch the skin, causing micro-tears that may lead to irritation or infection. Remove all jewelry, including rings, watches, and bracelets, which can scratch the skin or harbor bacteria that is difficult to clean. According to health guidelines from WebMD, maintaining proper hygiene is essential for the safety and benefits of massage therapy.
Set up a clean, flat surface
Choose a stable, flat surface such as a massage table or a firm bed. Cover it with a fresh sheet or towel that is large enough to drape over the edges. This creates a hygienic barrier between the client and the surface, protecting both parties from sweat, oils, and potential contaminants. Ensure the room is at a comfortable temperature, as clients are often partially or fully unclothed and may feel cold easily. Dim the lights slightly and consider using calming music to help the client relax.
Apply lubricant
Warm a small amount of massage oil or lotion in your palms before applying it to the client's skin. This prevents the initial shock of cold oil and allows for smoother, more fluid strokes. Choose a hypoallergenic product if you are unsure of the client's skin sensitivities. Proper lubrication reduces friction, protecting the skin from irritation and allowing your hands to glide effortlessly over the muscles.
Master effleurage and petrissage
Effleurage and petrissage are the two foundational strokes of Swedish massage. Effleurage uses long, gliding movements to warm up the tissue and spread oil. Petrissage involves kneading and lifting the muscles to release tension. Together, they form the core of most relaxation techniques.
Effleurage: The Warm-Up
Effleurage is the starting point for any massage session. It helps the recipient relax and prepares the muscles for deeper work. This stroke is gentle and rhythmic, moving with the flow of blood back toward the heart.
- Apply oil: Pour a generous amount of massage oil or lotion onto your hands. Rub them together to warm the product.
- Start at the feet: Place your palms flat on the soles of the feet. Use your body weight to glide up the legs, over the hips, and onto the back.
- Maintain contact: Keep your hands in constant contact with the skin. Move slowly and smoothly, avoiding jerky motions.
- Return to the start: Glide back down the sides of the body to complete one full cycle. Repeat this motion several times to establish a calming rhythm.
Petrissage: The Kneading
Petrissage is more intense than effleurage. It involves lifting, squeezing, and rolling the muscles. This technique helps break up adhesions and improves circulation in deeper tissue layers.
- Position your hands: Place your thumbs and fingers on the muscle belly, such as the shoulders or thighs.
- Lift and squeeze: Gently lift the muscle away from the bone. Squeeze it firmly but comfortably between your hands.
- Roll the tissue: Roll the muscle between your fingers and thumbs. Move slowly across the muscle group.
- Work in sections: Focus on one area at a time. Move systematically from one end of the muscle to the other.
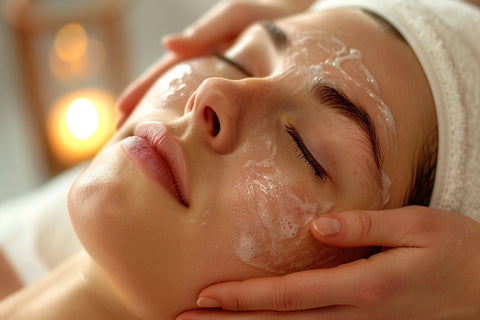
Apply massage oil to your hands and the recipient's back. Use long, gliding effleurage strokes to spread the oil evenly and warm the skin. This initial step helps the recipient relax and prepares the muscles for deeper work.
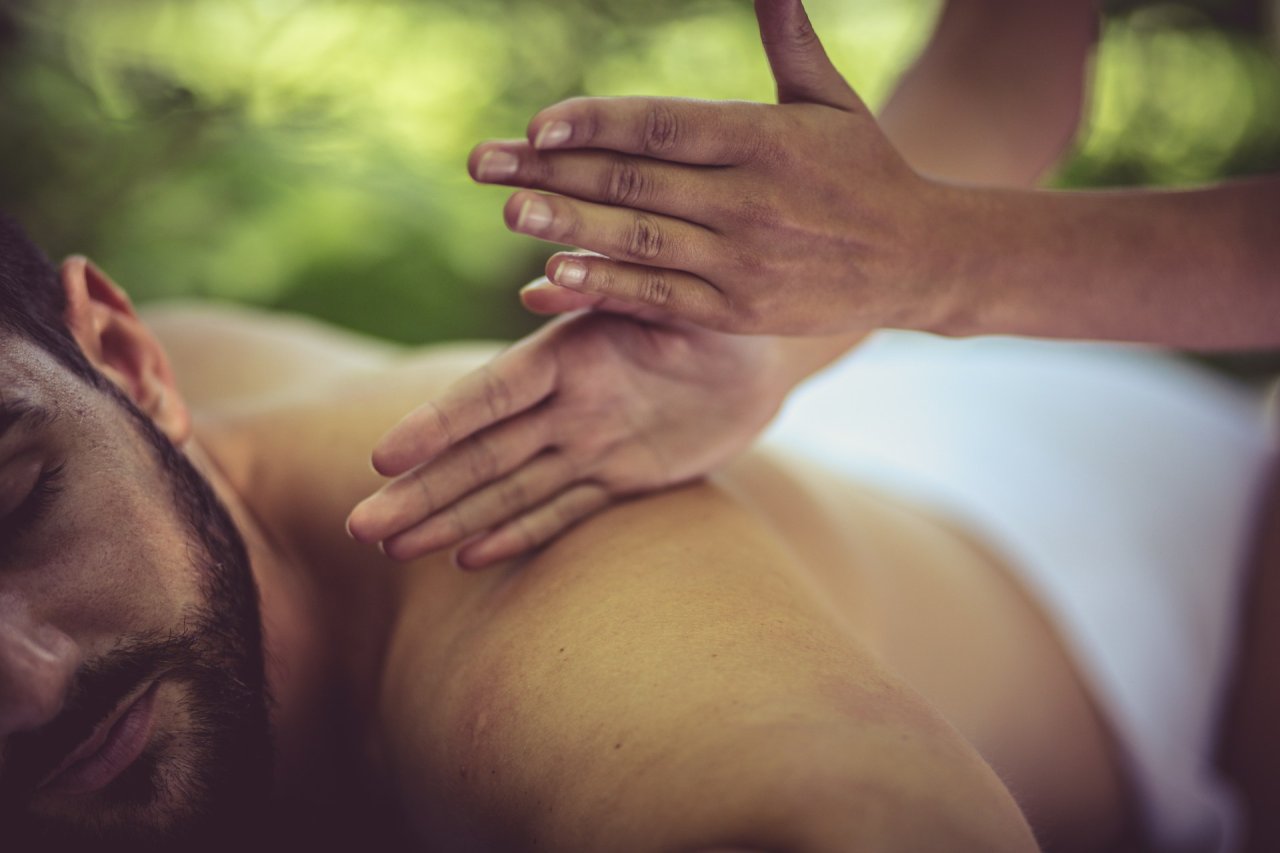
Use your palms and fingers to make long, sweeping strokes up the back. Move from the lower back up to the shoulders and neck. Maintain steady pressure and keep your hands in constant contact with the skin.
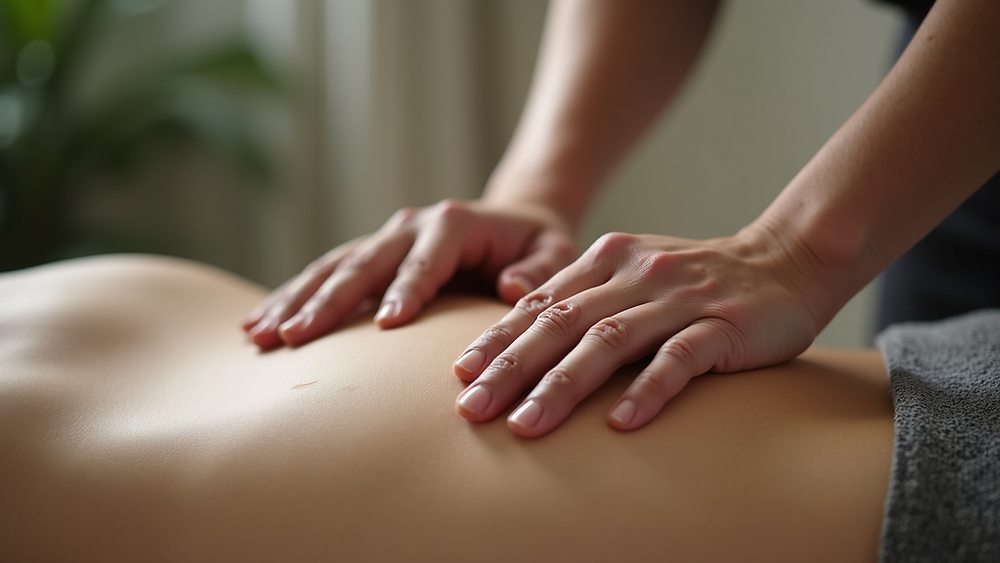
Switch to a kneading motion. Use your thumbs and fingers to lift and squeeze the muscles along the spine. Roll the muscle tissue between your hands to release tension and improve circulation.
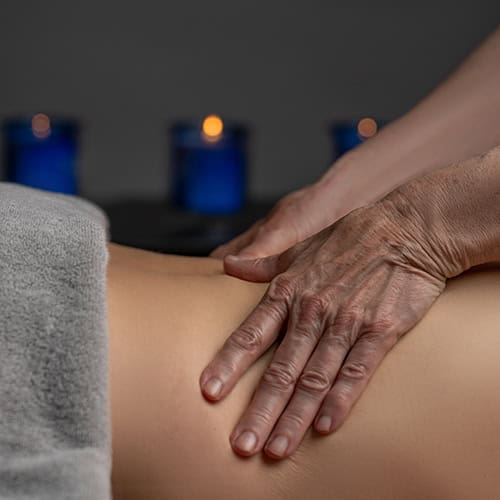
Finish with gentle effleurage strokes to soothe the muscles. Slow down your pace and reduce pressure. This helps the recipient transition out of the relaxed state and prepares them to sit up.
These two strokes are the building blocks of Swedish massage. Mastering them allows you to create a soothing, effective massage experience. As you practice, focus on maintaining a steady rhythm and using your body weight rather than just arm strength.
For a broader understanding of massage therapy, the American Massage Therapy Association provides detailed resources on basic techniques and professional standards. Their guidelines ensure that you are learning methods that are both effective and safe for recipients.
Apply friction and tapotement
Friction and tapotement are deeper, more stimulating techniques designed to break up adhesions and stimulate nerve endings. Unlike the soothing effleurage strokes used for relaxation, these methods require more pressure and speed to target specific areas of tension.
Friction
Friction involves applying deep, circular or cross-fiber movements with the thumbs, fingertips, or palms. The goal is to generate heat and loosen tight muscle fibers or scar tissue. Apply steady pressure without sliding the skin; instead, move the underlying tissues against the bone. This technique is particularly effective for treating small, localized knots in the shoulders or knees.
Tapotement
Tapotement consists of rhythmic, percussive strikes using the sides of the hands, cupped palms, or fingertips. Common variations include hacking (using the ulnar edge of the hand) and cupping (using cupped hands to create a slapping sound). This technique increases blood flow and invigorates the muscles. It is best used at the end of a session to stimulate the area before finishing with gentle strokes.
Choose the right massage style
Selecting the correct massage modality depends on your specific physical goals and pain tolerance. While many styles exist, three primary techniques—Swedish, Deep Tissue, and Shiatsu—serve distinct purposes. Understanding these differences ensures you receive the appropriate treatment for your needs.
Swedish massage is the standard for relaxation and general circulation. It uses long, gliding strokes and light kneading to soothe the nervous system. This style is ideal for beginners or those seeking stress relief rather than targeted pain correction.
Deep tissue massage targets the deeper layers of muscle and connective tissue. Therapists use slow strokes and firm pressure to break down adhesions and chronic tension. This modality is best suited for individuals with persistent pain or specific muscular injuries.
Shiatsu is a Japanese bodywork technique that combines finger pressure with gentle stretching. Rather than rubbing the muscles, it applies rhythmic pressure to specific acupressure points to balance the body's energy flow. This approach is effective for holistic wellness and tension relief without deep muscular manipulation.
The table below compares these three styles to help you decide which aligns with your immediate goals.
| Style | Pressure Level | Primary Goal | Best Use Case |
|---|---|---|---|
| Swedish | Light to Medium | Relaxation | Stress relief, beginners |
| Deep Tissue | Firm to Deep | Pain relief | Chronic tension, injury recovery |
| Shiatsu | Moderate | Energy balance | Holistic wellness, acupressure |
Practice self-massage safely
Self-massage is a practical way to release tension in your neck, shoulders, and feet without professional equipment. To get started, begin by stretching your hands and wrists to prepare the muscles for pressure (Press Modern Massage, n.d.).
Neck and shoulder relief
Use your fingers to gently knead the trapezius muscles at the base of your neck. Apply steady, moderate pressure while tilting your head to the opposite side to stretch the tissue. Hold each spot for 30–60 seconds until the tension softens.
Foot tension release
Sit comfortably and use your thumbs to press into the arch of your foot. Move slowly from the heel toward the toes, targeting tight spots in the plantar fascia. This technique helps alleviate foot fatigue after long periods of standing.
Safety precautions
Always check your skin integrity before starting. Avoid massaging areas with broken bones, open wounds, or active infections. If you feel sharp pain, stop immediately. Mild discomfort is normal, but pain indicates you are pressing too hard or targeting an injured area.
Begin by stretching your hands and wrists to prepare the muscles for pressure. This simple prep step prevents strain during deeper work.
Use your fingers to gently knead the trapezius muscles at the base of your neck. Apply steady, moderate pressure while tilting your head to the opposite side to stretch the tissue.
Sit comfortably and use your thumbs to press into the arch of your foot. Move slowly from the heel toward the toes, targeting tight spots in the plantar fascia.
Common massage questions answered
Beginners often have specific concerns about safety, frequency, and what to expect after a session. Addressing these common questions helps you prepare properly and get the most benefit from your basic massage techniques.
No comments yet. Be the first to share your thoughts!