
Start with proper hand positioning
Before applying effleurage or petrissage, you must establish a stable physical foundation. Proper hand alignment prevents wrist strain and ensures consistent pressure, which is essential for safe massage techniques. The American Massage Therapy Association notes that basic massage relies on five core movements, and their effectiveness depends entirely on how you position your hands before contact.
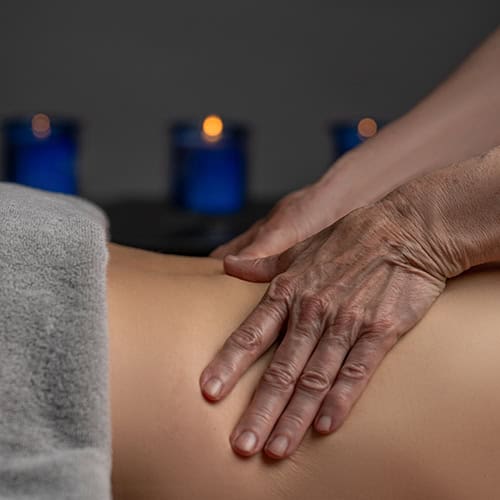
Begin by relaxing your shoulders and letting your arms hang loosely at your sides. Shake out your hands to release any tension in the wrists and fingers. When you are ready to begin, flatten your palm completely. Your fingers should be together but not rigid; imagine your hand is a single, solid unit. This flat surface allows you to distribute weight evenly across the skin, preventing hot spots or uneven pressure that can cause discomfort.
Keep your wrist straight and aligned with your forearm. A bent wrist concentrates force into a small area, increasing the risk of injury to both the recipient and the therapist. Use your body weight, rather than muscle strength from your arm, to apply pressure. Stand with your feet shoulder-width apart and lean into the movement from your core. This posture allows you to maintain steady, controlled pressure for extended periods without fatigue.
Practice this alignment on your own forearm before moving to a partner. Slide your flat hand gently up and down, checking that your wrist remains straight and your fingers stay together. This simple check ensures that every subsequent stroke, whether the long glides of effleurage or the kneading motions of petrissage, is performed with safety and precision.
Apply gliding strokes for circulation
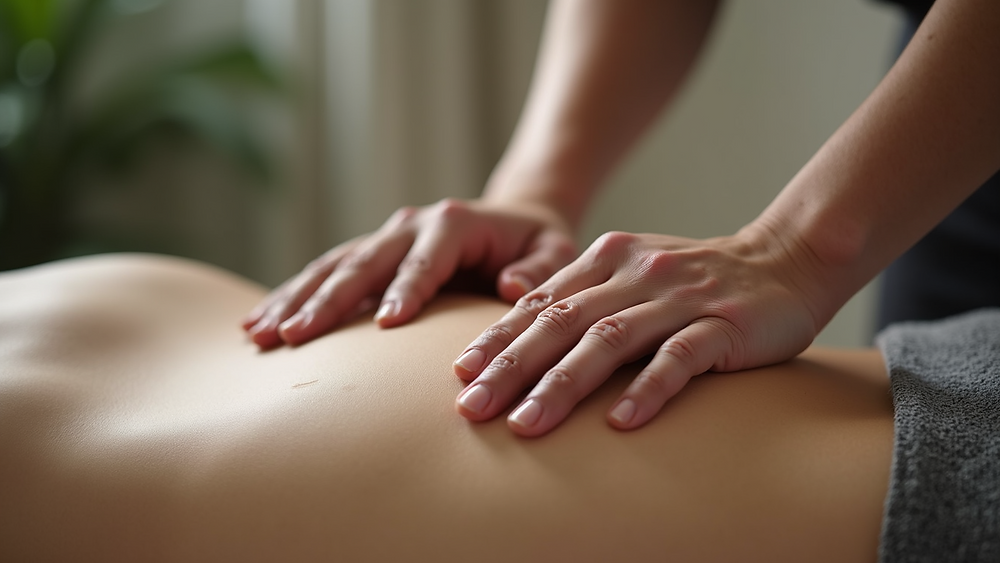
Effleurage is the foundational stroke in massage therapy, designed to warm up tissue and stimulate blood flow. It involves long, sweeping movements performed with light to moderate pressure. This technique serves as both an introduction to a session and a method for maintaining relaxation between deeper work. By following the direction of venous return toward the heart, effleurage encourages lymphatic drainage and reduces muscle tension without causing friction.
Begin by applying a generous amount of massage oil or lotion to reduce skin resistance. Place your palms flat against the skin, keeping your fingers together and your wrists relaxed. Start at the distal end of the limb or the lower back, depending on the area being treated, and glide smoothly toward the proximal end or the center of the body. The pressure should be consistent enough to move the superficial tissue but light enough to prevent dragging the skin.
Step 1: Prepare the surface and hands
Ensure the skin is lubricated to prevent irritation. Warm the oil in your hands before applying it to the client’s body. This initial contact helps the recipient adjust to the touch and signals the start of the therapeutic process. Use broad, open-hand contact rather than fingertips to distribute pressure evenly across the muscle groups.
Step 2: Execute the long, sweeping glide
Move your hands in a continuous, rhythmic motion. On the back, stroke from the lower spine upward to the shoulders, then sweep down the sides of the body toward the hips. On the legs, always move upward from the ankle to the thigh. This directional consistency is critical for supporting venous and lymphatic return. Keep the movement fluid; avoid stopping or jerking between strokes.
Step 3: Adjust pressure and repeat
Vary the pressure based on the client’s response and the stage of the massage. Lighter strokes are ideal for warming up or calming the nervous system, while slightly firmer pressure can help mobilize superficial fascia. Repeat the gliding motion 5–10 times over the same area before transitioning to petrissage or other techniques. This repetition builds heat and increases local circulation, preparing the tissue for deeper manipulation.
Note: Effleurage should never feel like dragging. If the skin wrinkles or the client feels pinching, add more lubricant or lighten your touch. The goal is a seamless glide that feels soothing rather than abrasive.
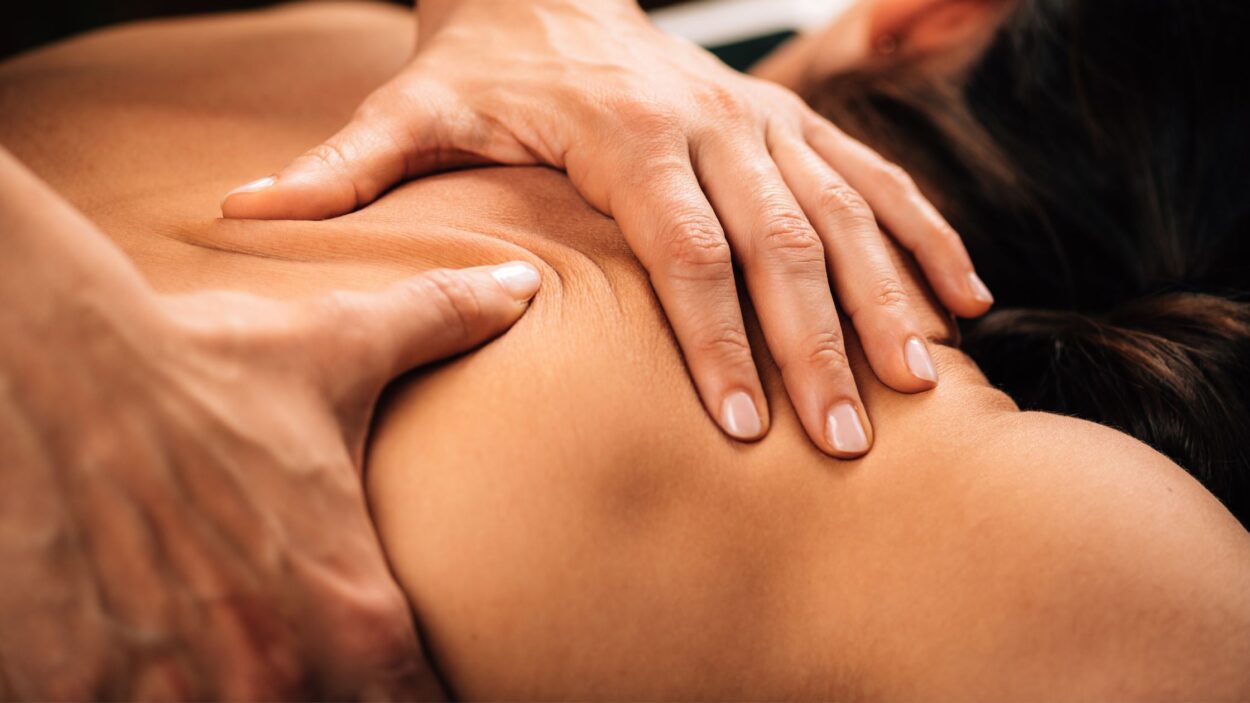
Use kneading to release tension
Petrissage, often called kneading, is the technique that lifts, rolls, and squeezes muscle tissue. Unlike the gliding strokes of effleurage, petrissage works deeper into the soft tissue to break up adhesions and improve elasticity. It is one of the five basic massage techniques recognized by the American Massage Therapy Association, alongside effleurage, friction, vibration, and tapotement [src-1].
The goal is to compress the muscle fibers and then release them, which increases local blood flow and helps flush out metabolic waste. This action is particularly effective for releasing tension in large muscle groups like the hamstrings, quadriceps, and upper back.
1. Position your hands for lift
Begin by placing your hands flat against the muscle belly, fingers spread wide. You can use both hands for larger areas like the thighs or back, or a single hand for smaller areas like the calves. Ensure your thumbs are relaxed and not digging into the skin.
Engage your forearms and shoulders, not just your fingers. Scoop the muscle upward, lifting it away from the bone or deeper tissue. Imagine you are picking up a handful of dough. Keep the skin moving with the muscle; do not let it drag or bunch up unevenly.

Once the muscle is lifted, gently but firmly squeeze it toward the center. This compression forces blood out of the area. Hold the squeeze for a second or two, focusing on any tight or knotted areas. Avoid crushing the tissue; the pressure should be firm but comfortable.
As you release the pressure, allow the muscle to return to its natural state. You can also roll the tissue between your thumbs and fingers to target specific knots. Move slowly along the muscle fiber, repeating the lift-squeeze-release cycle. This rhythmic motion helps restore the muscle's natural elasticity.
2. Adjust pressure and speed
The effectiveness of petrissage depends on the depth of your pressure and the speed of your movements. For general relaxation, use slower, smoother kneading. For deeper tension release, increase the pressure and slow down further to allow the tissue to respond.
Always check in with the recipient. If the pressure causes sharp pain or guarding, lighten your touch. Petrissage should feel like a deep, satisfying release, not an aggressive manipulation. If you are working on yourself, use a foam roller or massage ball to simulate the squeezing action on hard-to-reach areas like the glutes or upper back.
3. Transition smoothly
After completing a section of kneading, transition back to effleurage to calm the area. Long, gliding strokes help redistribute the increased blood flow and signal the nervous system to relax. This combination of petrissage and effleurage creates a balanced massage that both releases tension and promotes recovery.
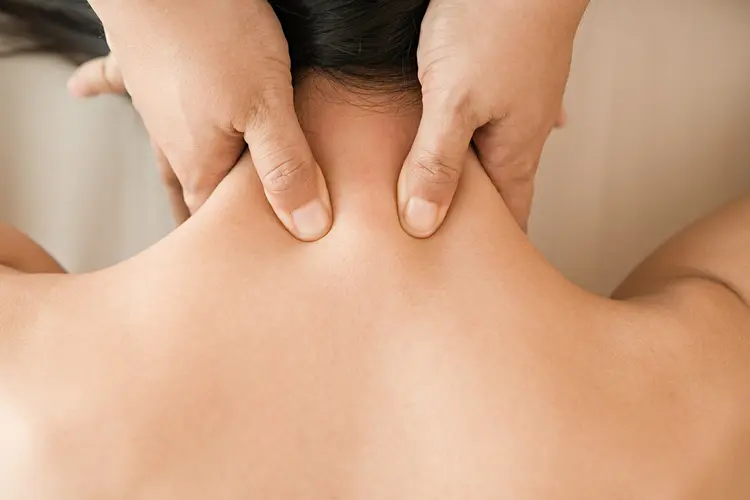
Target specific knots with friction
Friction techniques shift the focus from broad, soothing strokes to concentrated pressure on specific areas. While effleurage and petrissage work the entire muscle belly, friction targets localized adhesions, scar tissue, and "knots" where muscle fibers have fused together. This method is essential for breaking down cross-fibers and restoring normal tissue alignment.
Identify the adhesion
Before applying pressure, locate the tight spot. Run your fingers lightly over the muscle to find a nodule or band that feels denser than the surrounding tissue. These areas often correspond to trigger points or chronic tension. Do not guess the location; palpation is key. The knot will typically feel like a small, distinct lump under the skin or within the muscle layer.
Apply cross-fiber friction
Once the knot is identified, position your thumb, knuckle, or elbow directly over the adhesion. Apply firm, perpendicular pressure across the grain of the muscle fibers. Imagine you are trying to "comb" the tangled fibers apart. Move your body weight, not just your hand, to maintain consistent depth. Avoid sliding over the skin; instead, drag the deeper tissues across the stationary bone or underlying muscle. This creates the necessary shear force to break up the adhesion.
Monitor tissue response
The goal is to generate a localized warming sensation, not to cause sharp pain. If the client experiences shooting pain or numbness, reduce the pressure immediately. Work the area for 1-2 minutes, then reassess. The knot should feel softer or smaller. If it remains rigid, you may need to adjust the angle of application or combine this with gentle stretching to release the tension fully.
Integrate with broader strokes
After treating the specific knot, return to broader effleurage strokes. This helps flush out metabolic waste released during the friction process and soothes the irritated tissue. Skipping this final step can leave the area inflamed or tender. The transition from deep, focused work back to light, gliding strokes signals the end of the deep tissue intervention.
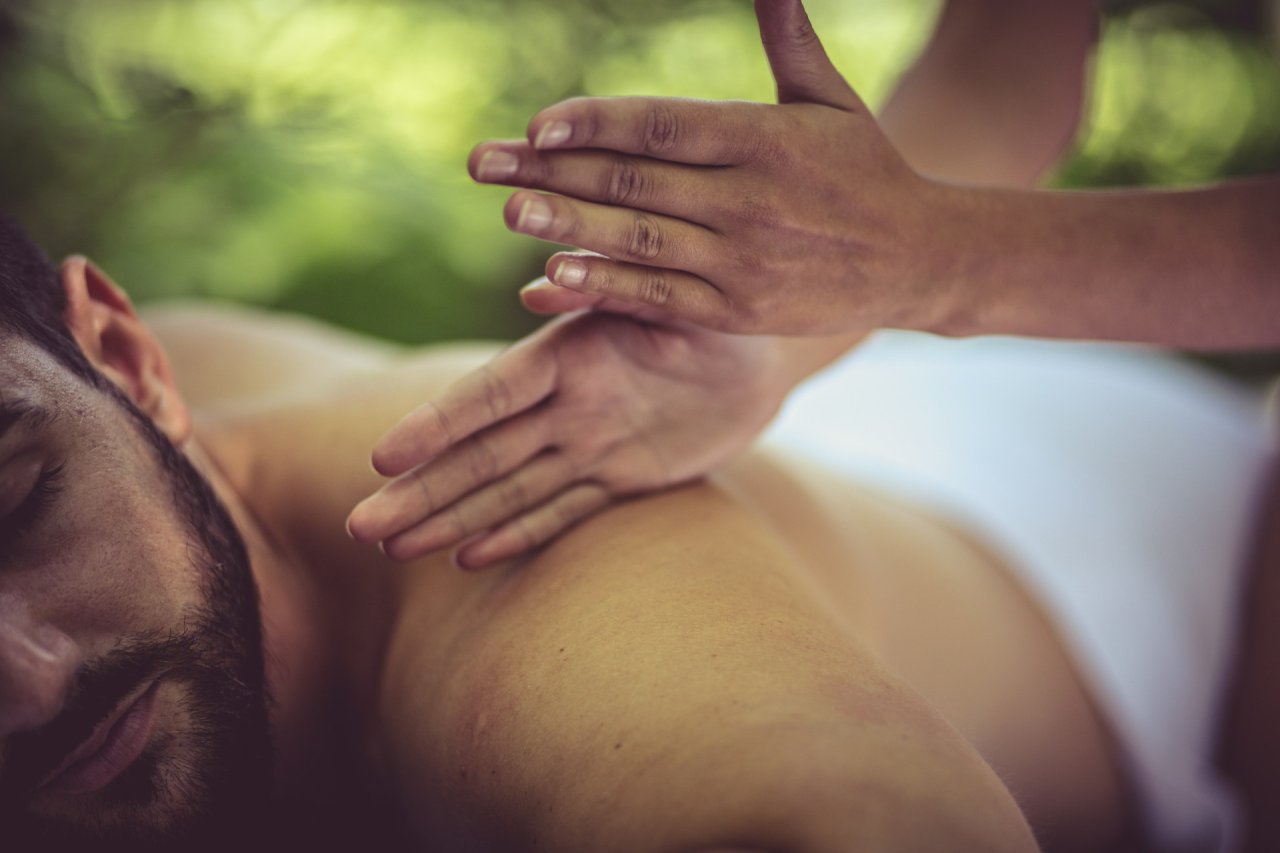
Finish with rhythmic tapping
Tapotement and vibration are stimulating techniques used to energize the body and wake up tissues. These methods serve as an effective conclusion to a massage session or a way to address numb areas. Unlike the slow, gliding strokes of effleurage, tapotement uses percussive movements to increase blood flow and stimulate nerve endings.
The American Massage Therapy Association identifies tapotement and vibration as two of the five core massage techniques. Using them at the end of a session helps transition the client from deep relaxation back to alertness without causing jarring discomfort.
Cup your hands to create a hollow drum shape. This variation, known as cupping, is safe for sensitive areas like the chest and glutes. Strike the tissue with a rhythmic, bouncing motion. The hollow space allows air to escape, creating a softer, less jarring impact than a flat palm.
For large muscle groups like the back, use the ulnar edge of your hand (the pinky side). Chop briskly in a alternating, rhythmic pattern. Keep your wrists loose and flexible to prevent strain. This movement, called hacking, feels like a rapid, light drumming that invigorates the muscle fibers.
Place your fingertips or palms firmly against the skin. Use small, rapid tremors from your shoulders and elbows to create a shaking sensation. Vibration penetrates deeply into the tissue and can help wake up numb areas. Maintain steady pressure while generating the rapid, buzzing motion.
These techniques require a light touch and consistent rhythm. Avoid striking bones or joints. The goal is to stimulate the surface and underlying tissues, leaving the client feeling energized and refreshed.
Check your technique safety
Before moving to the next stroke, pause to ensure your application of effleurage and petrissage remains therapeutic. Proper massage technique should relieve tension, not create new injury. Use this quick self-assessment to verify your pressure, positioning, and client comfort levels.
-
Assess skin integrity: Inspect the area for redness, bruising, or open wounds. Effleurage and petrissage involve significant friction and compression; applying these over compromised skin can worsen irritation or cause infection.
-
Verify pressure consistency: Your force should be firm enough to engage muscle tissue but never sharp or causing pain. If the client tenses up or reports discomfort, reduce pressure immediately. Pain signals tissue trauma, not therapeutic progress.
-
Check for contraindications: Ensure no recent injuries, blood clots, or acute inflammation are present in the treatment area. Massage increases circulation; applying effleurage or petrissage over a fresh injury can exacerbate swelling and delay healing.
-
Evaluate oil usage: Confirm sufficient lubrication is present. Insufficient oil turns effleurage into friction, which can damage the epidermis. Petrissage requires skin mobility, not dragging.
-
Monitor client feedback: Ask for real-time feedback. A healthy massage feels like deep, relieving pressure. If the client feels sharp pain, numbness, or excessive heat, stop immediately.
For detailed guidance on contraindications and safety protocols, refer to the National Institute of Health or certified massage therapy associations.
Common questions about massage
How long should each stroke last?
Effleurage strokes typically last 3 to 5 seconds as you glide from the extremities toward the heart. Petrissage kneading motions are shorter, usually 1 to 2 seconds per compression. Consistency matters more than speed; a steady rhythm helps the nervous system relax rather than spike with tension.
Can I use massage techniques on injured areas?
Avoid applying direct pressure to acute injuries, bruises, or open wounds. Massage increases blood flow, which can worsen inflammation in the first 48 hours after an injury. For chronic pain or old injuries, consult a physical therapist to determine safe pressure levels.
What is the difference between deep tissue and Swedish massage?
Swedish massage uses long, gliding strokes and light kneading to promote general relaxation and circulation. Deep tissue massage targets the deeper layers of muscle and connective tissue using slower, firmer pressure to release chronic tension. Swedish is generally gentler, while deep tissue can feel intense or uncomfortable during the session [1].
[1] https://www.webmd.com/balance/massage-therapy-styles-and-health-benefits
No comments yet. Be the first to share your thoughts!