
Start with these five core strokes
Professional bodies like the American Massage Therapy Association (AMTA) identify five fundamental strokes that form the foundation of safe self-massage. Mastering these basic movements allows you to apply pressure effectively without risking injury to muscles or joints.
Think of these techniques as a toolkit. Just as a carpenter selects the right tool for the job, you should choose a stroke based on the tension in your body and the area being treated. Each stroke serves a distinct purpose, from warming up tissue to releasing deep knots.
Effleurage
Effleurage involves long, gliding strokes performed with light to moderate pressure. This technique is typically used to begin a session, helping to warm up the muscles and spread massage oil evenly across the skin. It promotes relaxation and encourages blood flow toward the heart.
Petrissage
Petrissage uses kneading, lifting, and squeezing motions to work deeper into the muscle tissue. This stroke helps to release tension and break up adhesions in the muscles. It is particularly effective for areas like the shoulders, thighs, and calves where muscle knots often accumulate.
Friction
Friction consists of deep, circular movements applied with the thumbs, fingers, or palms. Unlike effleurage, this technique targets specific points of tension rather than broad areas. It helps to break down scar tissue and improve flexibility in localized spots.
Vibration
Vibration involves rapid, shaking movements applied to the muscle tissue. This technique can help to stimulate nerve endings and relieve stiffness. It is often used at the end of a session to soothe the muscles and promote overall relaxation.
Tapotement
Tapotement includes rhythmic tapping, hacking, or cupping motions. This stimulating technique helps to invigorate the muscles and increase circulation. It is best used on larger muscle groups like the back and legs, avoiding sensitive areas like the neck or head.
By practicing these five core strokes, you can create a balanced and effective self-massage routine. Start with effleurage to warm up, use petrissage and friction for tension relief, and finish with vibration or tapotement to stimulate the area.
Apply effleurage for relaxation
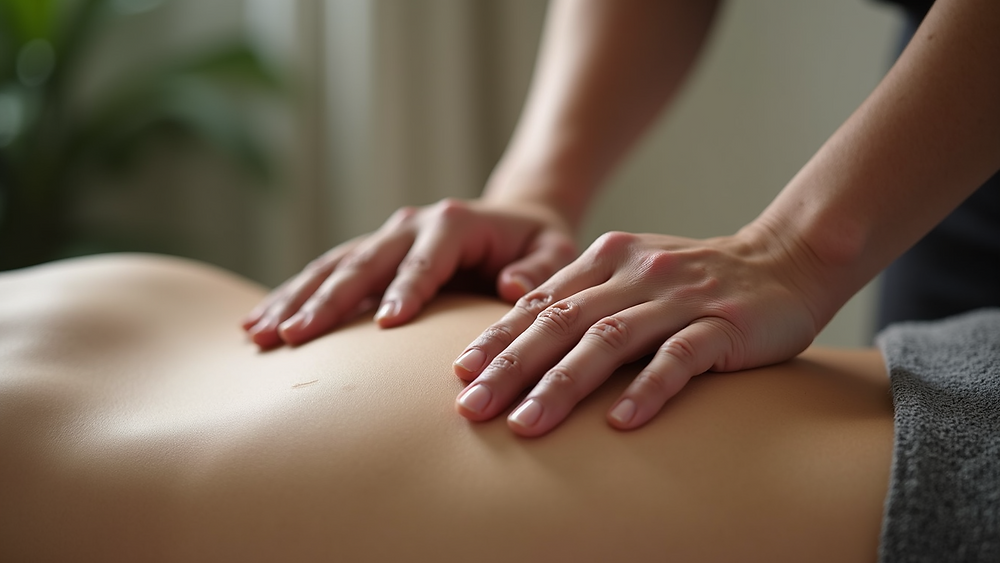
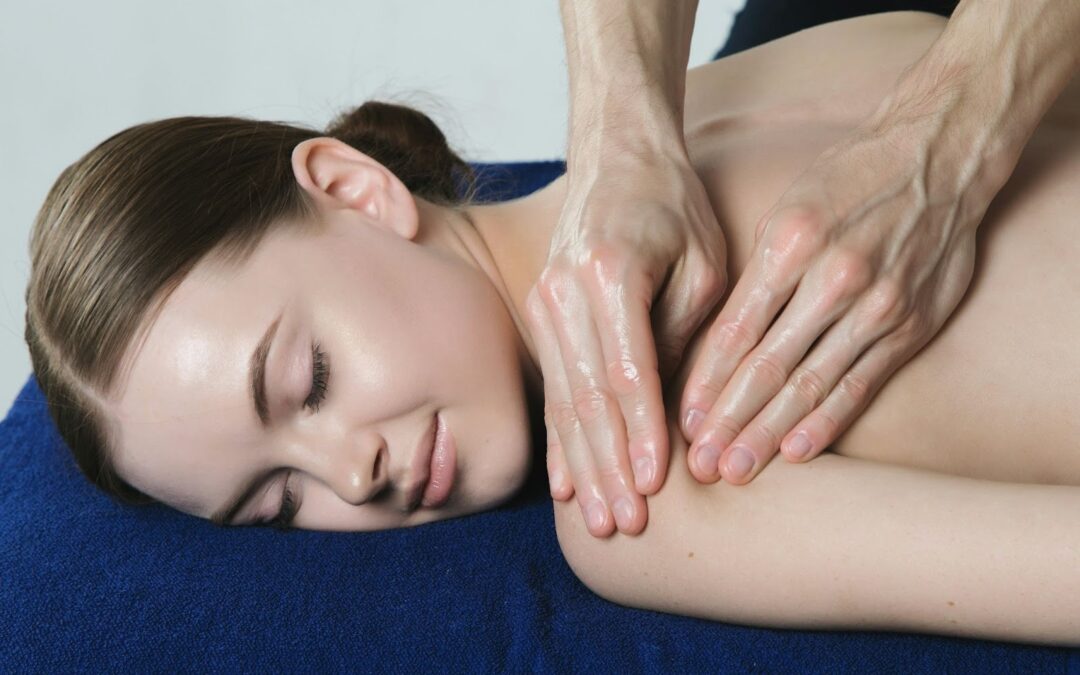
Effleurage is the foundational stroke of Swedish massage, characterized by long, gliding movements that follow the direction of venous return. According to the AMTA, this technique is primarily used to promote relaxation and improve circulation rather than to manipulate deep muscle tissue. The motion should feel like a gentle wave moving across the skin, helping the body transition into a state of calm.
To perform effleurage correctly, start with clean hands and a small amount of massage oil or lotion to reduce friction. Place your palms flat against the skin, using your entire hand surface rather than just your fingertips. This ensures even pressure distribution and prevents localized strain on the tissue.
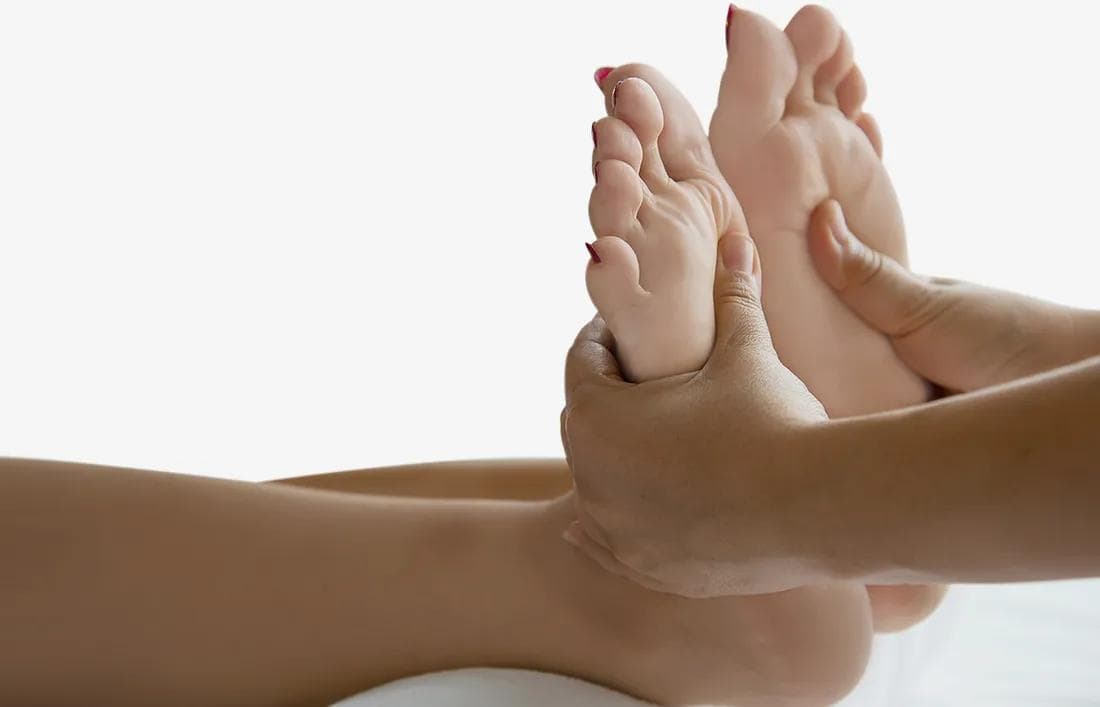
Begin at the feet or hands and glide upward toward the heart. This direction supports venous blood flow back to the core, aiding in circulation without requiring significant physical effort from the recipient.
Keep your hands in continuous contact with the skin. Lift your fingers only at the end of the stroke to return to the starting position, ensuring the movement remains fluid and uninterrupted.
Apply gentle pressure that feels soothing rather than deep. The goal is to warm the superficial tissues and signal safety to the nervous system. Adjust pressure based on the recipient's comfort, keeping it light enough to avoid triggering muscle tension.
Use broad strokes for larger muscle groups like the back or thighs, and narrower strokes for smaller areas like the neck or calves. This adaptability allows you to cover the entire body efficiently while maintaining a rhythmic pace.
Repeat the effleurage sequence three to five times at the beginning and end of your session. This framing technique helps the recipient settle into relaxation initially and integrates the benefits of deeper work afterward. Consistency in rhythm is more important than speed; a slow, steady pace is more effective for calming the nervous system.
Use petrissage to release tension
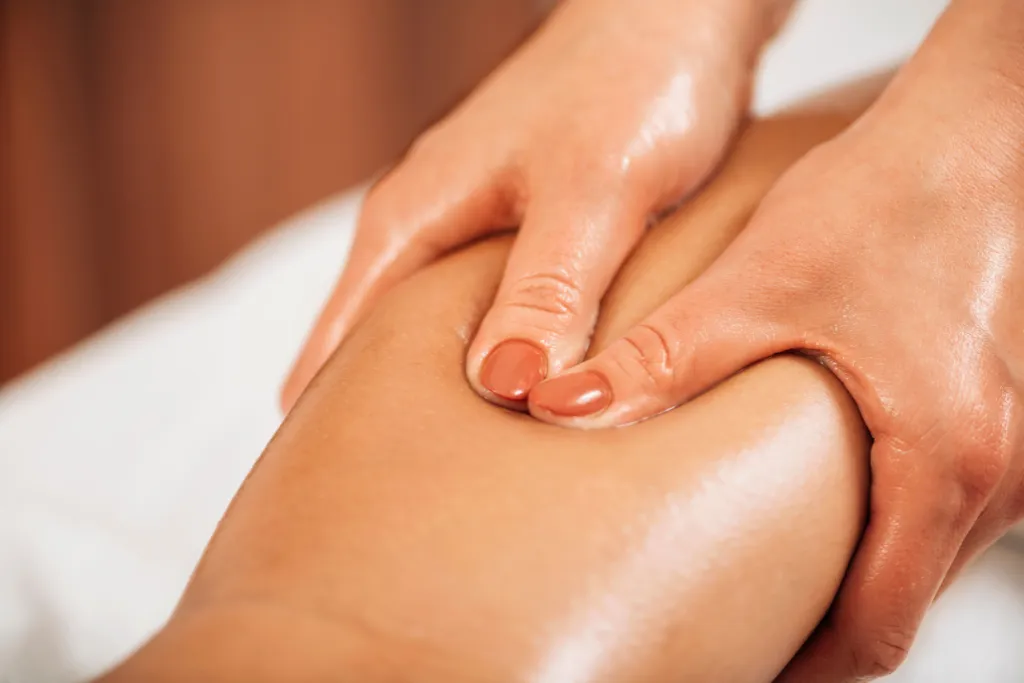
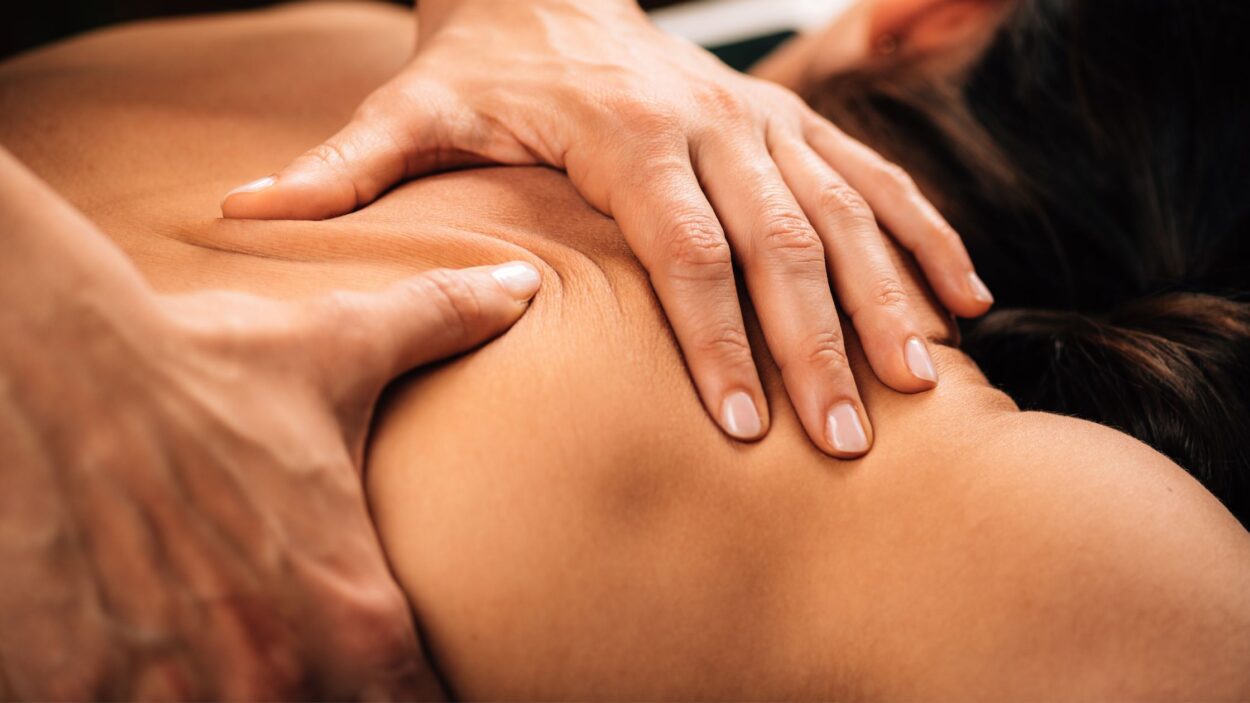
Petrissage is a kneading and lifting technique that helps release muscle knots and improves tissue elasticity. Unlike the gliding strokes of effleurage, petrissage works deeper into the muscle belly, squeezing and rolling the tissue to encourage blood flow and reduce stiffness. This method is particularly effective for areas prone to holding tension, such as the shoulders, neck, and calves.
To perform petrissage safely, start with a generous amount of massage oil or lotion to reduce friction. Use your thumbs, fingers, or palms to lift, squeeze, and knead the muscle tissue in a rhythmic motion. Imagine you are kneading dough; the movement should be smooth and controlled, not jerky or painful. Focus on one area at a time, applying steady pressure for several seconds before releasing.
Place your hands firmly on the muscle group. For shoulders, use your thumbs and fingers to grasp the trapezius muscle. For calves, wrap your hands around the lower leg, positioning your thumbs on the front and fingers on the back.
Gently lift the muscle tissue away from the bone or underlying structure. Squeeze the lifted tissue firmly but comfortably. The pressure should be deep enough to feel the muscle working, but never sharp or painful. Hold the squeeze for two to three seconds.

Roll the tissue between your fingers or thumbs, mimicking the motion of kneading bread. Move slowly along the muscle fiber, repeating the lift-squeeze-roll sequence. This helps break up adhesions and encourages the release of metabolic waste products trapped in tight muscles.
Slowly release the pressure and allow the muscle to settle. Move to the next section of the muscle group and repeat the process. Continue for 3 to 5 minutes per area, ensuring you maintain consistent rhythm and pressure throughout the session.
When using petrissage, listen to your body. If you feel any sharp pain, reduce the pressure immediately. The goal is relaxation and tension relief, not pain tolerance. After completing the technique, finish with gentle effleurage strokes to soothe the area and promote circulation. This combination helps ensure the muscles remain loose and ready for movement.
Apply friction for deep tissue work
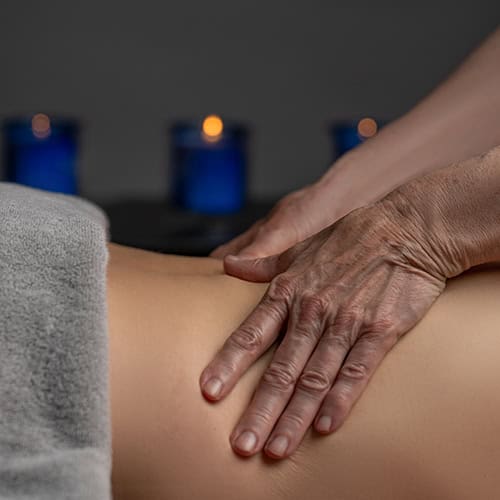
Friction involves applying deep, concentrated pressure using your thumbs or fingertips to target specific trigger points and adhesions in deeper muscle layers. Unlike broader strokes, this technique focuses on a small area to break up tight knots and restore tissue mobility. The AMTA identifies friction as one of the five foundational Swedish massage techniques, essential for addressing localized tension rather than general relaxation.
To perform this safely, start with a small amount of massage oil to reduce skin drag. Place the pad of your thumb or the tip of your finger directly on the tight spot. Apply firm, steady pressure perpendicular to the muscle fibers. Move in small, circular motions or short, back-and-forth strokes. The goal is to move the tissue layers against each other, not to slide across the skin surface.
Maintain consistent pressure for 30 to 60 seconds per trigger point. You should feel the muscle release slightly as the tension dissipates. This technique is particularly effective for the shoulders, lower back, and calves where knots tend to form. Always finish the area with gentle effleurage strokes to soothe the tissue and promote circulation.
Finish with vibration and tapotement
Vibration and tapotement are the final notes in a self-massage session. These techniques stimulate nerve endings and invigorate tired muscles, acting like a gentle reset button for your nervous system. According to the AMTA, these strokes are best used at the end of a sequence to tone tissues rather than relax them.
Think of tapotement as a rhythmic percussion. It increases blood flow and wakes up sluggish muscles. Vibration, by contrast, is a rapid shaking motion that calms nerve sensitivity while stimulating circulation. Together, they prepare the body for rest or activity.
Safe tapotement steps
Follow these steps to apply tapotement safely on large muscle groups like your thighs, buttocks, or upper back.
Cup your hands loosely. Strike the muscle with the sides of your hands in a rhythmic, slapping motion. Keep your wrists flexible and let the impact come from the wrist, not the arm. This creates a hollow, drum-like sound that stimulates the surface tissue without bruising.
Use the ulnar side (pinky edge) of your hands. Chop quickly and alternately against the muscle. This "hacking" motion is vigorous and should feel like a brisk drumroll. Avoid hitting joints, bones, or the spine. Focus on large muscle bellies like the quadriceps or glutes.
Lightly tap the area with your fingertips. This is the gentlest form of tapotement, suitable for the face, neck, or sensitive areas. Keep the movements light and bouncy, like a pianist playing a fast scale. This stimulates circulation without deep pressure.
Applying vibration safely
Vibration involves shaking the muscle rapidly. You can use your whole hand or just your fingertips. Place your hand firmly on the muscle and tremble it quickly. The goal is to create a buzzing sensation that penetrates the tissue. This technique is excellent for soothing sore muscles after exercise.
Always finish with effleurage (long, gliding strokes) to calm the nervous system after the stimulation of tapotement and vibration. This transition signals to your body that the session is complete.
Check your technique
Use this checklist to verify you are applying pressure, speed, and direction correctly for safe self-massage. Proper form prevents tissue damage and maximizes relaxation benefits.
- Pressure: Apply firm, steady pressure. Avoid sharp, jerky movements that strain muscles.
- Speed: Move slowly and deliberately. Fast strokes reduce therapeutic benefit.
- Direction: Stroke toward the heart or lymph nodes. This supports circulation and drainage.
- Contact: Use the palm or thumb pad. Keep fingers relaxed to avoid accidental digging.
Following these steps ensures a safe, effective session.
Common questions about massage strokes
Understanding how to apply pressure and frequency helps you avoid injury while maximizing relaxation. Most official guidelines, including those from WebMD, emphasize that massage is primarily for wellness and relaxation rather than medical treatment.
No comments yet. Be the first to share your thoughts!