
Prepare your hands and space
Before applying massage techniques, establish a safe, hygienic environment. Proper preparation minimizes the risk of injury and ensures the session remains therapeutic.
Clean and sanitize
Wash your hands thoroughly with soap and warm water for at least 20 seconds. Dry them completely; damp hands can cause skin maceration or slip unexpectedly during pressure application. If you have any cuts or open sores, cover them with waterproof bandages or avoid touching the recipient entirely until healed. Sanitize your nails and under-fingernails, as these areas harbor bacteria that can transfer to broken skin or mucous membranes.
Check for contraindications
Safety begins with assessment. Before any physical contact, verify that the recipient has no acute contraindications such as recent surgery, deep vein thrombosis, active skin infections, or severe osteoporosis. If any of these conditions are present, massage may cause serious harm. Refer to official guidelines from health authorities like WebMD to understand specific medical restrictions for different massage styles.
Set up the environment
Ensure the treatment area is at a comfortable temperature, typically between 72°F and 75°F (22°C-24°C), as recipients are often exposed. Use a clean, padded surface such as a massage table or firm mat. Lay down fresh linens for every session. Remove clutter and ensure the lighting is adjustable but not glaring. A calm, organized space helps the recipient relax and allows you to focus on precise technique without distraction.
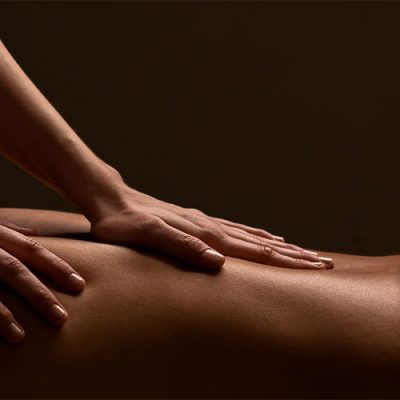
Apply effleurage for relaxation
Effleurage is the foundational gliding stroke used to warm up muscles and introduce the recipient to your touch. It prepares the tissue for deeper work by increasing blood flow and signaling safety. As noted by the American Massage Therapy Association, this stroke is one of the five basic techniques every therapist must master.
Step 1: Position your hands
Place the palms of your hands flat against the skin. Keep your fingers relaxed and together, ensuring your thumbs are not pressing into the muscle yet. This broad contact area distributes pressure evenly and prevents sharp points from causing discomfort.
Start with very light pressure, just enough to maintain skin contact. The goal is to glide, not press. Move your hands slowly along the muscle fiber, following the natural contour of the body. Think of this as a gentle sweep that wakes up the nervous system.
As you repeat the stroke, apply more weight using your body weight, not just your arm muscles. The pressure should feel firm but comfortable. If the recipient tenses up, reduce the pressure immediately. The stroke should feel like a slow, continuous wave moving over the surface.
When you reach the end of the stroke, lift your hands slightly and return to the starting position with minimal pressure. This creates a rhythmic cycle: heavy on the way down, light on the way back. This rhythm is essential for promoting relaxation and venous return.
Step 2: Maintain rhythm and flow
Consistency is key. Effleurage should be slow and deliberate, typically taking 2-3 seconds per stroke. Avoid jerky movements or stopping mid-stroke. The motion should be fluid, like drawing a line in sand with a stick—smooth and unbroken.
Step 3: Adjust for anatomy
Adapt the path of the stroke to the body part. On the back, stroke from the lower spine up toward the shoulders, then sweep down the sides. On the legs, always stroke upward toward the heart to support circulation. Never stroke against the direction of blood flow.
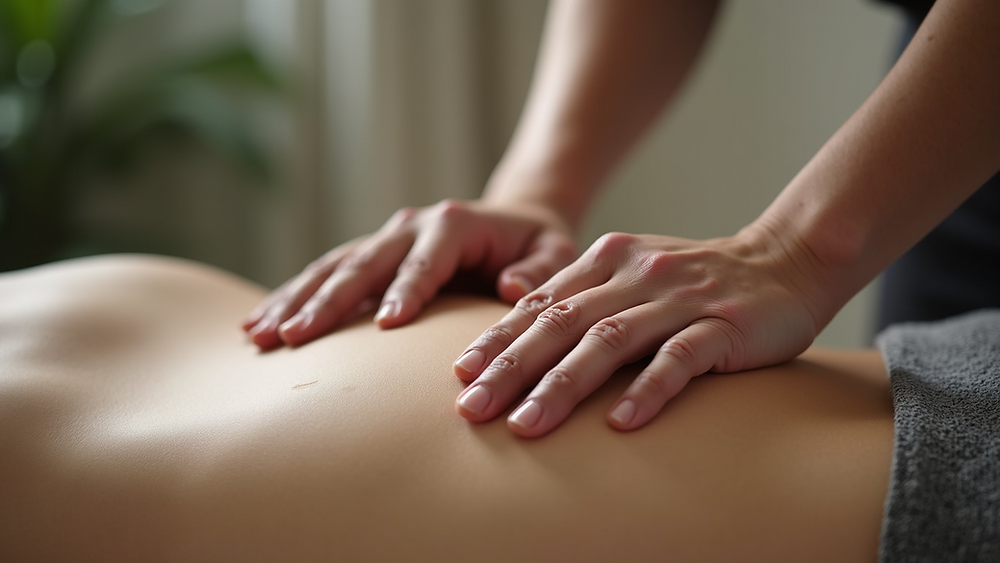
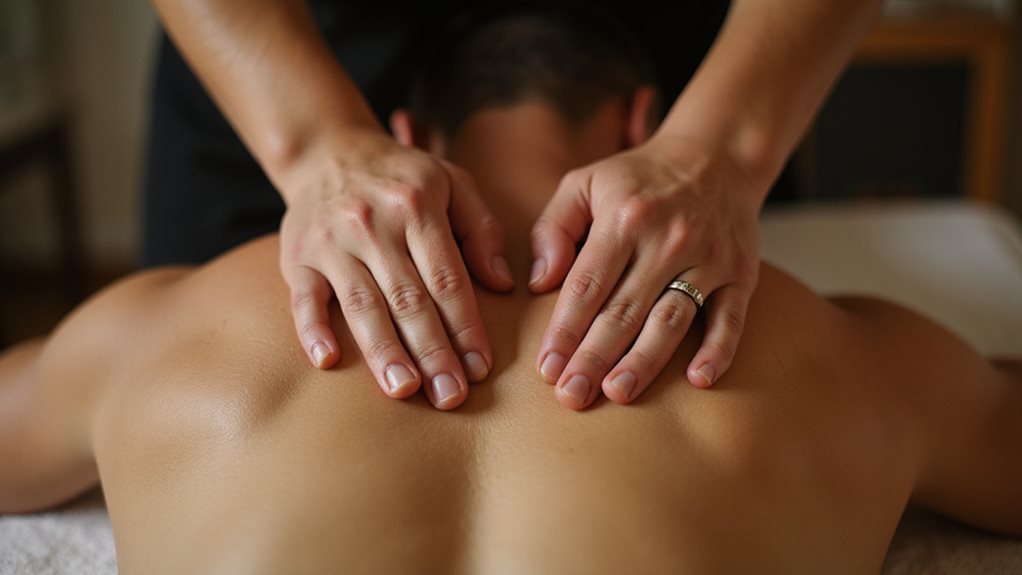
Use petrissage to knead muscles
Petrissage is the kneading phase of a massage, designed to lift, squeeze, and roll the soft tissue between your fingers and palms. Unlike the gliding strokes of effleurage, this technique engages the deeper muscle layers, helping to release tension knots and improve local circulation. Think of it as working dough: you are manipulating the tissue to encourage blood flow and reduce stiffness in areas like the shoulders, thighs, and lower back.
To perform petrissage correctly, follow these sequential steps:
Place your hands flat on the muscle group you intend to treat. For larger areas like the quadriceps or calves, use both hands. For smaller areas like the neck or forearms, one hand may suffice. Ensure your fingers are relaxed and your wrists are flexible to avoid strain.
Gently grasp a fold of skin and underlying muscle, lifting it away from the bone. The goal is to isolate the muscle belly so you can manipulate it independently. Avoid pinching the skin too tightly; focus on lifting the deeper tissue layers.

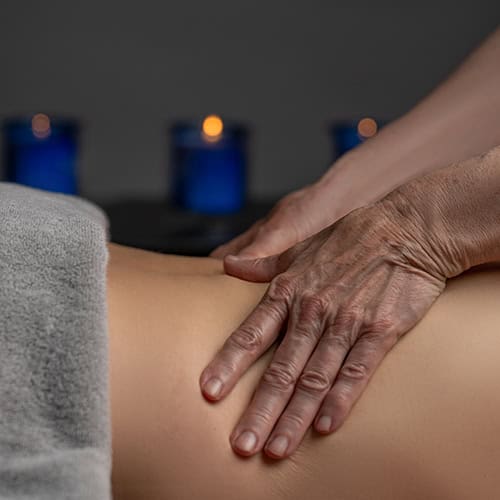
Apply steady, rhythmic pressure as you squeeze the lifted tissue. Roll the muscle between your fingers and thumb, moving slowly across the body part. This squeezing motion helps to flush out metabolic waste and brings fresh, oxygenated blood into the area.
Slowly release the pressure and let the tissue settle. Repeat the lift-squeeze-release cycle, moving systematically along the muscle fiber. Adjust your grip based on the size of the muscle group; use a firmer grip for large muscles and a lighter touch for sensitive areas.
Petrissage is particularly effective for addressing muscle adhesions and improving flexibility. It is widely used in sports massage to prepare muscles for activity or to aid recovery after exertion.
When practicing petrissage, maintain a consistent rhythm. Too fast, and you risk irritating the tissue; too slow, and you may lose the therapeutic benefit of increased blood flow. If you encounter a particularly tight spot, hold the squeeze for a few seconds before releasing, allowing the muscle to relax further.
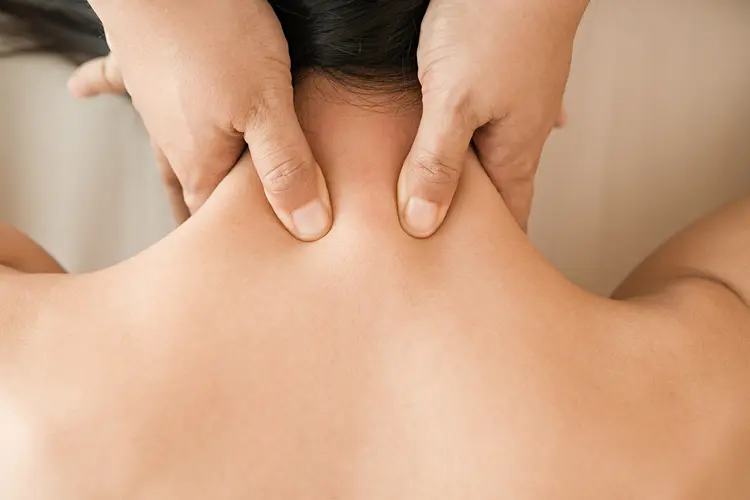
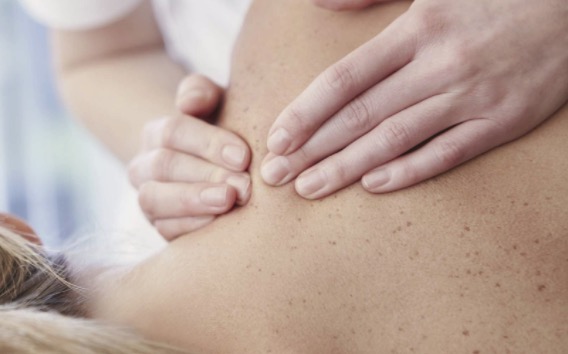
Target knots with friction
Friction is the technique used to break up adhesions and release specific tension points in the muscle fibers. Unlike gliding strokes, friction applies deep, circular pressure directly onto the knot. This localized stress helps realign the tissue fibers and increases blood flow to the area, promoting faster recovery.
How to apply friction
- Locate the knot: Identify the tight, tender spot within the muscle. Use your thumb, knuckles, or elbow depending on the size of the area.
- Anchor your hand: Place your other hand on the body part for stability. This prevents you from slipping and allows you to apply consistent pressure.
- Apply deep pressure: Press firmly into the knot. The pressure should be deep enough to reach the muscle tissue but not so deep that it causes sharp pain.
- Move in small circles: Move your thumb or knuckles in small, circular motions. Keep the movement shallow but intense. Do not slide over the skin; instead, rub the underlying tissue.
- Hold and release: Once the knot begins to soften, hold the pressure for a few seconds, then slowly release. Repeat this process for 30-60 seconds.
Identify the specific knot or adhesion. Use your fingers to feel for tight bands in the muscle. Mark the spot mentally or with a light touch.
Position your other hand or body weight to stabilize the area. This ensures you can apply steady, controlled pressure without slipping.

Press firmly into the knot. Move your thumb, knuckles, or elbow in small, concentric circles. Focus on rubbing the tissue beneath the skin, not just gliding over it.
Check in with the recipient. The pressure should be deep but comfortable. If they report sharp pain, reduce the intensity. Continue for 30-60 seconds until the knot softens.
-
Use thumb, knuckle, or elbow based on area size
-
Maintain stable anchor with opposite hand
-
Keep movements small and circular
-
Avoid sliding over the skin surface
-
Check in for pain levels regularly
By focusing on specific points rather than broad areas, you can effectively target chronic tension and improve mobility. Always communicate with the recipient to ensure the pressure is therapeutic, not harmful.
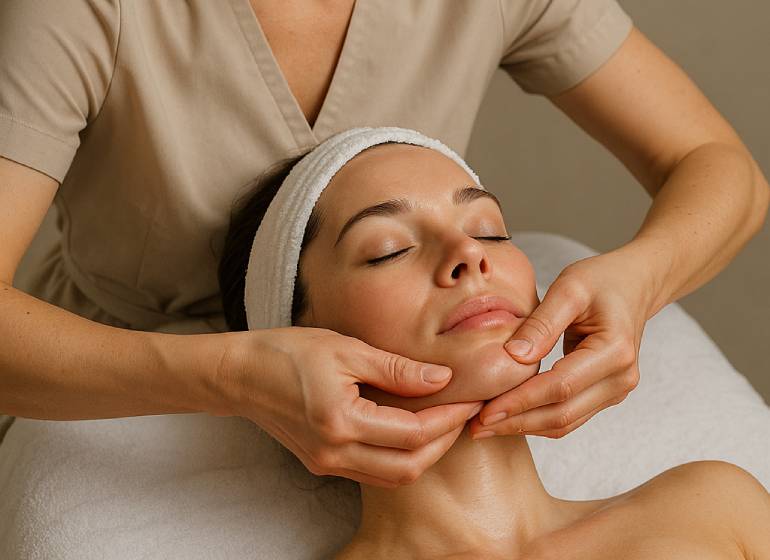
Finish with tapotement
Tapotement, often called percussion, uses rhythmic tapping, hacking, or cupping motions to invigorate the nervous system and conclude the session. This technique stimulates blood flow and prepares muscles for recovery, making it an ideal final step before dressing.
Follow this sequence to apply tapotement safely and effectively:
Use the ulnar side of your hand (pinky edge) for hacking motions or cup your hands for cupping. Keep your wrists loose and flexible to generate momentum from the elbow, not the shoulder. This prevents fatigue and ensures a rhythmic, soothing sound rather than a sharp, painful slap.
Move quickly and lightly over large muscle groups like the glutes, hamstrings, or upper back. The goal is to create a drumming sensation that lifts the skin slightly. Avoid bony areas such as the spine, kidneys, or joints, as percussive force on these structures can cause injury or discomfort.
As you near the end of the session, decrease the speed and intensity of the tapping. Transition into slower, broader strokes or simply rest your hands on the area. This signals to the client’s nervous system that the active stimulation is ending, promoting a state of calm and relaxation.
It is particularly effective for stimulating circulation and toning muscles, but should always be used with caution and appropriate pressure.
Common mistakes to avoid
Beginners often mistake intensity for effectiveness, applying too much pressure before establishing proper technique. This error can cause tissue trauma rather than relief. According to WebMD, understanding the specific health benefits of each style helps determine the appropriate force needed for Swedish or deep tissue work.
Another frequent error is ignoring non-verbal feedback. If a recipient tenses up or breathes shallowly, it signals discomfort. You must adjust your pressure immediately rather than pushing through. Pain is not gain; reducing pressure when tension arises prevents injury and builds trust.
Finally, neglecting to warm up the muscles with lighter strokes can lead to stiffness. Start with effleurage to increase blood flow before engaging deeper techniques. This sequence ensures the body is prepared for more intensive manipulation, reducing the risk of soreness or bruising.

Frequently asked: what to check next
These questions address common concerns about applying the five core massage techniques safely and effectively.
For more details on massage styles and their specific health benefits, refer to WebMD’s guide on massage therapy.
No comments yet. Be the first to share your thoughts!