

Start with these five core strokes
Every massage style, from Swedish to deep tissue, relies on five foundational movements. These basic massage techniques form the building blocks of therapeutic touch. Mastering them allows you to adapt to different body types and pressure needs. Think of these strokes as the alphabet of massage; once you know the letters, you can write any sentence.
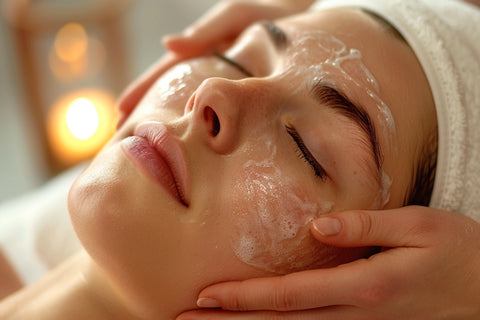
Effleurage
Effleurage consists of long, gliding strokes that follow the direction of venous return toward the heart. This technique warms up the tissue and prepares the muscles for deeper work. Use your palms or fingertips with light to moderate pressure, keeping your movements fluid and continuous.
Petrissage
Petrissage involves lifting, kneading, and squeezing the muscle tissue. This action helps release tension in deeper muscle layers and improves circulation. Imagine you are kneading dough; the motion should be rhythmic and deep enough to mobilize the underlying tissue without causing pain.
Friction
Friction applies deep, circular or transverse pressure directly over specific areas of tension or adhesions. Unlike gliding strokes, friction stays in one spot to break up scar tissue and relax tight knots. Use your thumbs, fingertips, or elbows depending on the muscle size and depth required.
Tapotement
Tapotement includes rhythmic tapping, hacking, or cupping movements performed with loose hands. This stimulating technique invigorates the nervous system and helps drain fluid from tissues. Keep your wrists flexible to ensure the strikes are percussive rather than jarring.
Vibration
Vibration uses rapid shaking or trembling movements applied with the hands or fingertips. This technique helps relax tense muscles and can soothe the nervous system. It is often used at the end of a session to calm the body and promote final relaxation.
How to apply effleurage correctly
Effleurage is the foundational stroke of massage techniques, serving as both an introduction and a conclusion to any session. It involves long, gliding movements that help relax the nervous system and prepare the muscles for deeper work. For beginners, mastering this stroke is essential because it establishes the rhythm of the treatment and ensures consistent pressure.
Think of effleurage like smoothing out a bedsheet; the goal is to cover the surface evenly without creating wrinkles or tension. The movement should be fluid, continuous, and controlled, using the full length of your palms rather than just your fingertips. This technique relies on body weight and leverage rather than arm strength, allowing you to work for extended periods without fatigue.
Step 1: Warm the oil and position your hands
Before touching the client, pour a generous amount of massage oil into your palms. Rub your hands together vigorously for ten to fifteen seconds to warm the oil. Cold oil can cause an involuntary muscle contraction, which defeats the purpose of relaxation. Ensure your hands are clean and your nails are trimmed to prevent accidental scratches.
Step 2: Place hands at the starting point
Begin at the distal end of the area you are treating, typically the ankles for legs or the wrists for arms. Place both hands flat against the skin, with fingers together and thumbs slightly apart. Your palms should make full contact with the surface, creating a seal that allows for smooth gliding. Take a moment to breathe, ensuring your shoulders are relaxed and down.
Step 3: Glide upward with steady pressure
Using your body weight, push forward in a long, sweeping motion toward the heart. Keep the pressure light to moderate; the skin should move with the oil, not slide over dry tissue. Maintain this continuous contact throughout the stroke. If you lose contact or the oil dries out, stop and reapply oil before continuing. This upward direction aids venous return and lymphatic drainage.
Step 4: Return with light pressure
Once you reach the proximal end (near the heart), lift your hands slightly off the skin. Return to the starting position using a very light touch, almost hovering above the surface. This return stroke should be significantly lighter than the outward glide. This contrast between heavy outward pressure and light return is what characterizes proper effleurage.
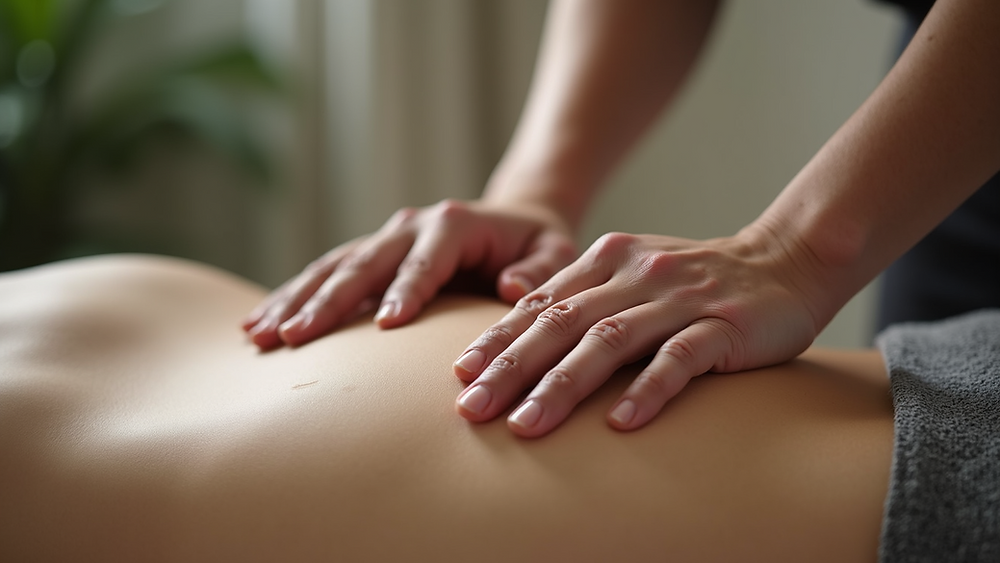
Rub massage oil between your palms until it feels warm to the touch. This prevents shock to the client's skin and muscles.
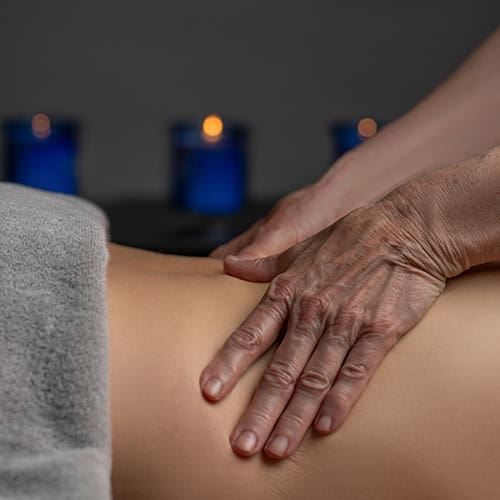
Place both hands flat on the skin at the ankles or wrists. Ensure full palm contact for stability and even pressure distribution.
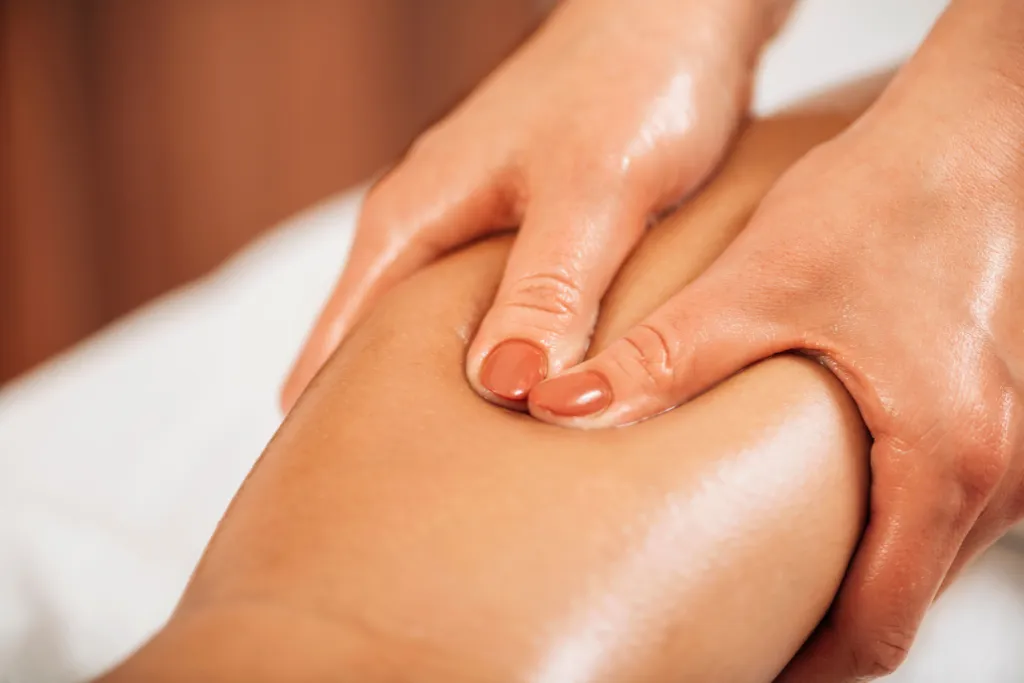
Push forward in a long, continuous stroke using your body weight. Keep the pressure firm but comfortable, moving the oil and skin together.
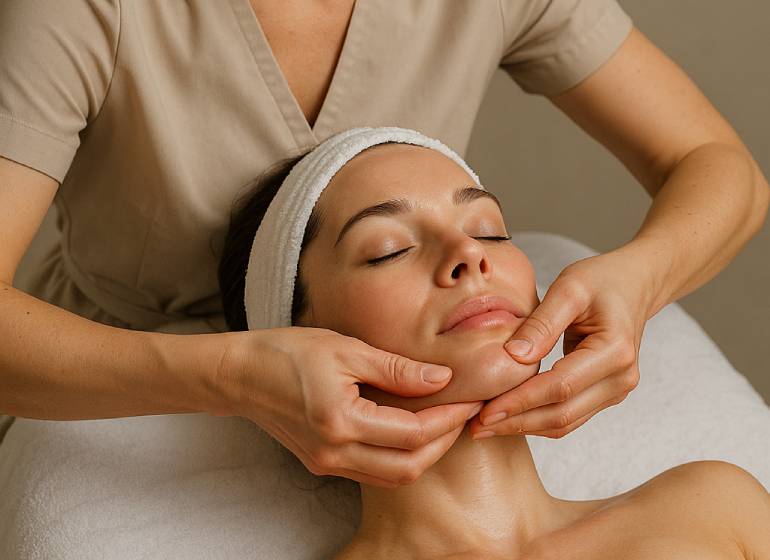
Lift your hands off the skin at the top of the stroke. Return to the start with a feather-light touch, resetting for the next repetition.
Repeat this cycle three to five times over the same area. The repetition is not redundant; it allows the muscles to gradually release tension and the circulatory system to adjust to the increased blood flow. As you become more comfortable, you can vary the width of your strokes, using the whole palm for broad areas like the thighs and the fingers for smaller areas like the calves.
Step-by-step: Mastering petrissage
Petrissage is a kneading massage technique that lifts, rolls, and squeezes muscle tissue to release tension and improve circulation. Unlike surface-level strokes, this method works deeper into the muscle belly, making it effective for breaking up knots and stiff bands. Because it involves significant pressure, proper hand placement and body mechanics are essential to avoid injury to both the practitioner and the recipient.
1. Grasp the muscle belly
Begin by positioning your hands firmly on the target area. For larger muscle groups like the calves or thighs, use both hands to encircle the limb. For smaller areas like the shoulders, use your thumbs and fingers to pinch and lift the tissue. Ensure you are grasping the fleshy part of the muscle, avoiding direct pressure on bones, joints, or major blood vessels. The goal is to secure a firm but comfortable hold on the muscle tissue itself.
2. Lift away from the bone
Once you have a secure grasp, gently lift the muscle away from the underlying bone or connective tissue. This separation is critical; it ensures you are working the muscle fibers rather than compressing them against hard structures. Lift with your forearm and shoulder, not just your fingers, to distribute force evenly. This movement helps to stretch the muscle fibers slightly and increases blood flow to the area.
3. Roll between fingers
With the muscle lifted, begin to roll it between your fingers or thumbs. Imagine you are kneading dough. The motion should be rhythmic and continuous, moving the tissue back and forth or in small circles. This rolling action helps to separate adhered muscle fibers and release trigger points. Maintain consistent pressure throughout the roll to ensure the technique remains therapeutic rather than painful.
4. Release slowly
After several repetitions, gradually ease the pressure and release the muscle. Do not jerk or abruptly let go, as this can cause discomfort or micro-trauma to the tissue. Allow the muscle to return to its natural position slowly. This gentle release signals the nervous system to relax, enhancing the overall calming effect of the massage technique.
Safety Note: Avoid petrissage on areas with acute inflammation, open wounds, or recent injuries. If the recipient experiences sharp pain, reduce pressure immediately. Always consult a healthcare provider before performing deep tissue techniques on individuals with medical conditions.
Choosing tools for self-massage
Learn Basic Massage Techniques works best as a clear sequence: define the constraint, compare the realistic options, test the tradeoff, and choose the path with the fewest hidden costs. That order keeps the advice usable instead of decorative. After each step, pause long enough to check whether the recommendation still fits the reader's actual situation. If it depends on perfect timing, unusual access, or a best-case budget, include a simpler fallback.
| Factor | What to check | Why it matters |
|---|---|---|
| Fit | Match the option to the primary use case. | A good deal still fails if it does not fit the job. |
| Condition | Verify age, wear, and service history. | Hidden condition issues erase upfront savings. |
| Cost | Compare purchase price with likely upkeep. | The cheapest option is not always the lowest-cost option. |
Safety rules for beginners in Colorado
Learning basic massage techniques requires a strict adherence to safety protocols, particularly when practicing in Colorado’s unique high-altitude environment. At elevations above 5,000 feet, the lower oxygen levels can cause clients to feel lightheaded or fatigued more quickly than at sea level. This physiological shift means you must monitor your client’s comfort closely and adjust your pressure accordingly. Avoid deep, aggressive pressure on individuals who are not acclimated to the altitude, as their bodies may struggle to process the physical stress of intense manipulation.
Always begin with a health screening to identify contraindications. Certain conditions, such as recent surgeries, blood clots, or severe osteoporosis, make specific massage techniques unsafe. If you are unsure about a client’s medical history, consult a physician before proceeding. This is not just a formality; it is a critical step in preventing injury and ensuring the therapeutic benefits of the session.
Be mindful of the skin’s condition, especially in dry, high-altitude climates. Colorado’s low humidity can make skin more fragile and prone to irritation. Use ample, high-quality massage oil or lotion to reduce friction. This not only protects the skin but also allows your hands to glide smoothly, reducing the risk of accidental abrasions or nerve irritation. Remember, gentle, consistent strokes are often more effective and safer than forceful, erratic movements.
When practicing basic massage techniques, prioritize the client’s feedback over your own assumptions. If a client reports pain, discomfort, or unusual sensations, stop immediately and reassess your approach. Safety is the foundation of effective massage therapy. By respecting the body’s limits and adapting to the environmental factors, you create a safe space for healing and relaxation.
Your beginner massage checklist
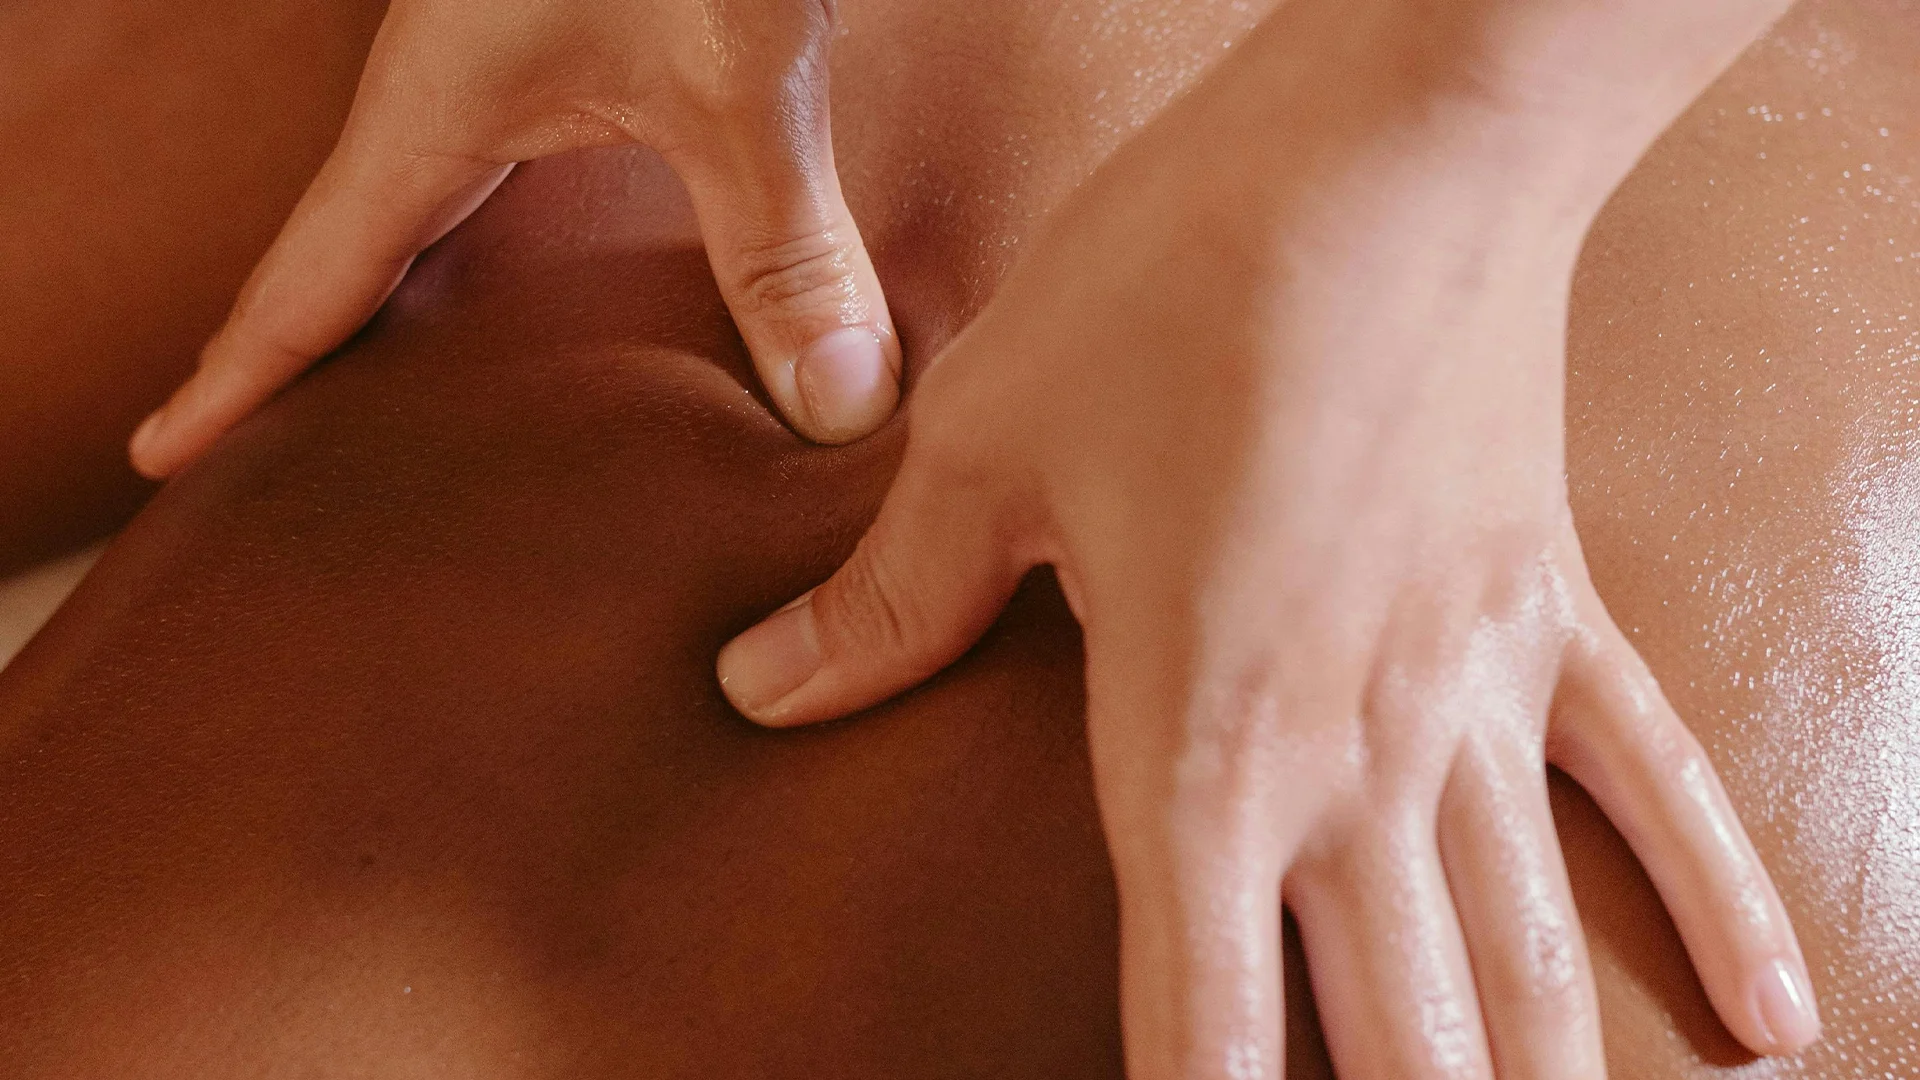
Before you begin practicing Massage techniques, ensure your environment and body are ready. Proper preparation prevents injury and maximizes the therapeutic effect for both giver and receiver.
-
Warm, skin-safe oil or lotion ready
-
Clean hands with trimmed nails
-
Comfortable, supportive surface
-
Basic strokes (effleurage, petrissage) practiced
-
Safety rules and contraindications reviewed
Once these items are checked, you are ready to start your first session.
No comments yet. Be the first to share your thoughts!