
Start with proper hand positioning
Mastering core massage techniques requires attention to detail, starting with proper hand positioning. This section helps you compare techniques in real life, separating must-have requirements from nice-to-haves. A practical choice should survive normal use, maintenance, timing, and budget. If a recommendation only works in an ideal situation, call that out plainly and give the reader a fallback path.
-
Verify the basicsConfirm the core specs, condition, and fit before comparing extras.
-
Price the downsideLook for the repair, maintenance, or replacement cost that would change the decision.
-
Compare alternativesCheck at least two comparable options before treating one listing as the benchmark.
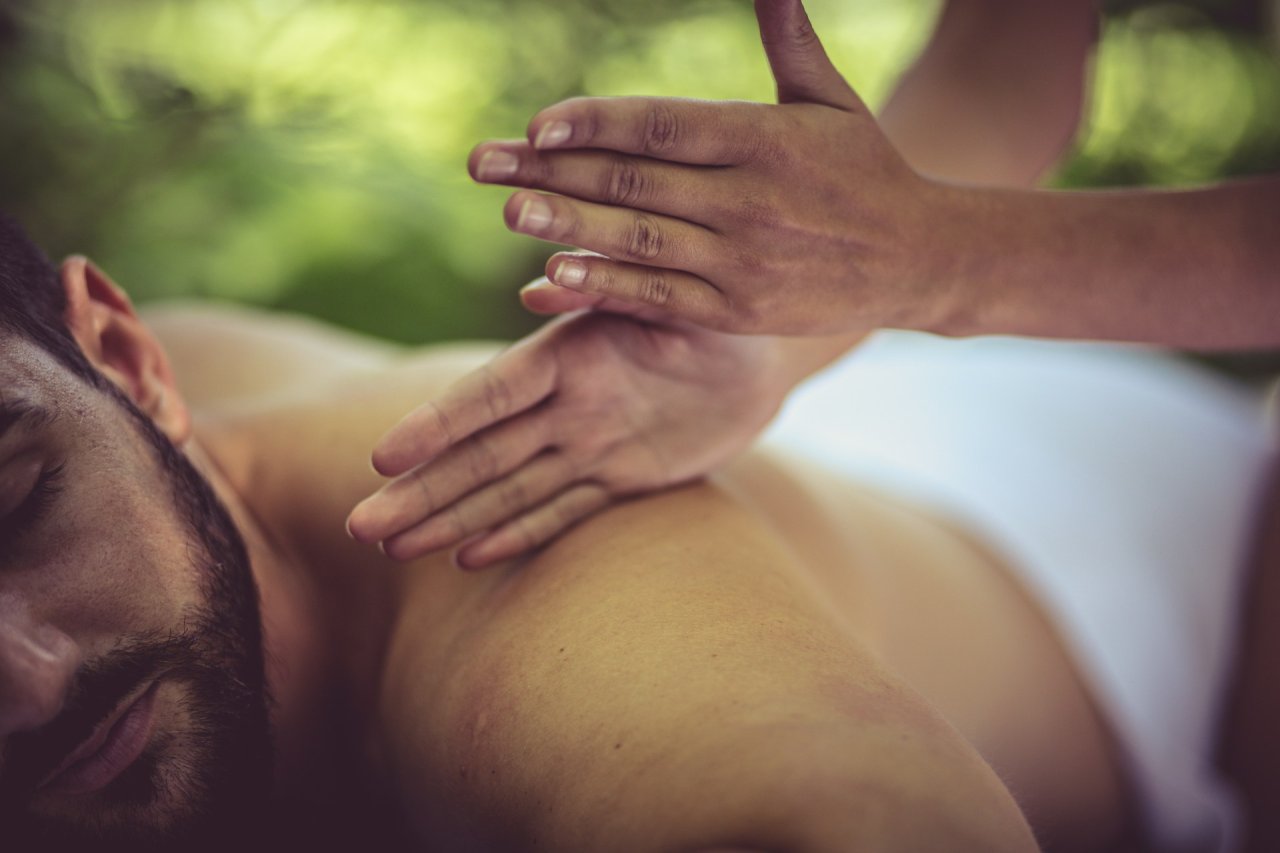
Apply effleurage for circulation
Effleurage is the foundational gliding stroke used to introduce massage to the body. It serves as the "warming up" phase for tissues, preparing the muscles for deeper work by promoting blood flow and relaxation. According to the American Massage Therapy Association (AMTA), this technique involves long, sweeping strokes that follow the direction of blood flow back toward the heart.
Step 1: Position your hands
Place your palms flat against the skin with your fingers extended and relaxed. Your thumbs should be slightly apart but not touching. This broad surface area distributes pressure evenly and prevents unnecessary strain on your thumbs or wrists.
Start at the lowest point of the area you are treating. For the legs, begin at the ankle; for the back, start at the lower lumbar region. This ensures you are moving fluids toward the heart, aiding venous return and lymphatic drainage.
Apply consistent, moderate pressure using your entire hand. Glide smoothly up the limb or across the muscle group. The stroke should be continuous and rhythmic, never stopping mid-way unless you are lifting your hands to reset at the starting point.
Once you reach the top of the stroke, lift your hands lightly off the skin and return to the starting position without applying pressure during the return trip. This prevents creating friction or dragging the skin unnaturally.
Continue these long, sweeping strokes for several minutes. The goal is to generate heat in the tissue and increase circulation. WebMD notes that these soft, long strokes are the primary method for inducing general relaxation and preparing the body for more intensive techniques.
Pressure and direction
The key to effective effleurage is direction. Always stroke toward the heart to assist the circulatory system. Pressure should be firm enough to move the underlying tissue but light enough to prevent bruising or discomfort. If you are working on a sensitive area, reduce the pressure significantly.
This technique is not just about moving fluids; it is about communication. The steady, rhythmic nature of effleurage signals safety to the nervous system, lowering heart rate and reducing anxiety before any deeper tissue work begins.
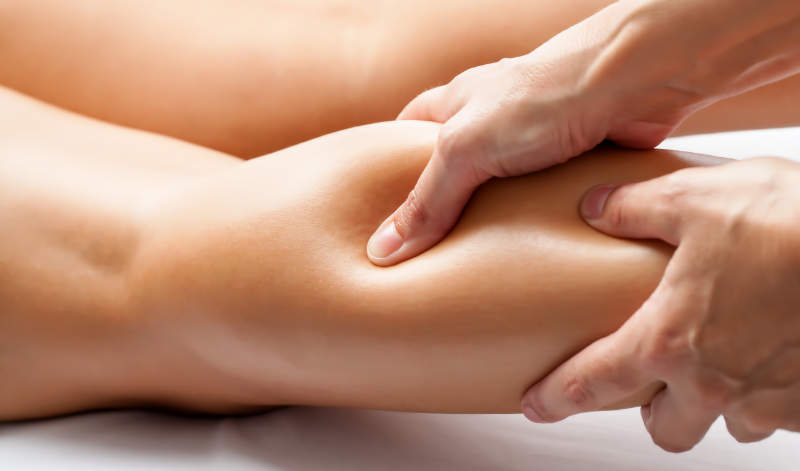
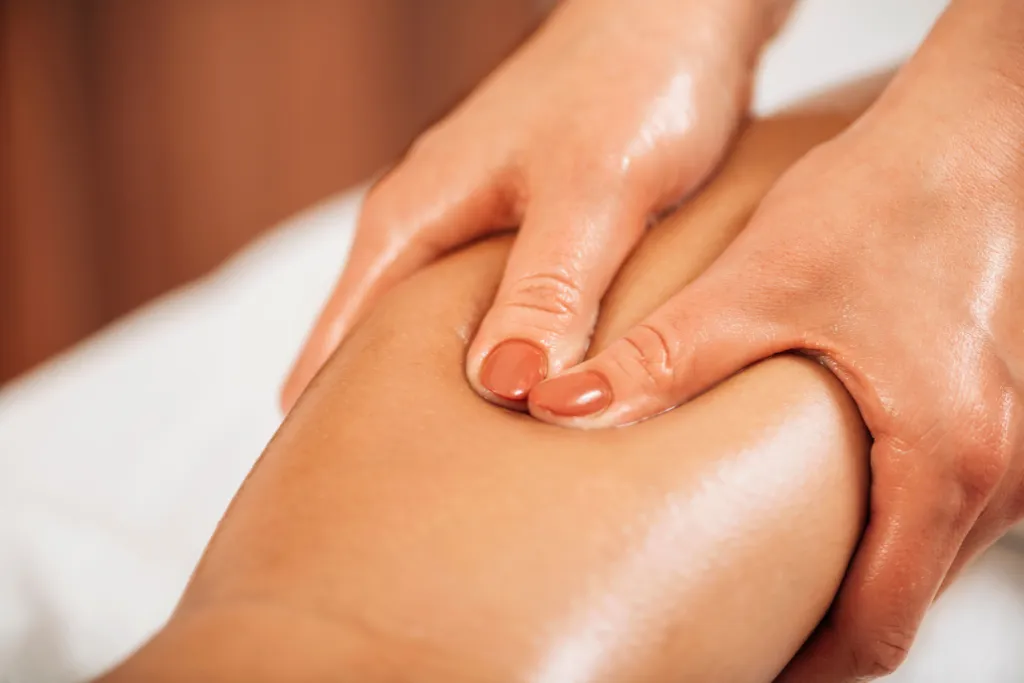
Use petrissage to release knots
Petrissage is a kneading technique designed to lift, squeeze, and roll muscle tissue away from the bone. This action increases blood flow to deeper layers, helping to break up adhesions and release chronic tension points. AMTA identifies petrissage as one of the five foundational massage strokes, distinct from the gliding motion of effleurage. WebMD notes that these soft, long kneading strokes are central to Swedish massage, promoting relaxation and reducing muscle stiffness.
To perform petrissage effectively, you must engage your body weight rather than relying solely on arm strength. This allows for sustained pressure without causing fatigue or discomfort to the client. The motion should be rhythmic and deliberate, targeting specific areas of tightness or "knots" where muscle fibers have contracted and stuck together.
Follow these steps to apply petrissage correctly:
Place your hands firmly on the muscle group, using your thumbs, palms, or fingers depending on the area size. For larger muscles like the quadriceps or hamstrings, use both hands to grasp the tissue. For smaller areas like the neck or calves, focus on thumb pressure or finger kneading. Ensure your grip is secure but not painful.
Slowly lift the muscle layer away from the underlying bone or fascia. This creates space between the tissue layers, which is essential for releasing tension. The lift should be gentle but firm, avoiding any pinching of the skin. Think of it as picking up a handful of dough, ensuring the muscle is fully engaged in the motion.
Once lifted, gently squeeze the muscle tissue and roll it between your hands. This rolling motion helps to break up adhesions and stimulate blood flow. Maintain a consistent rhythm, moving along the length of the muscle fiber. Avoid rapid or jerky movements, which can trigger a defensive contraction in the muscle.
Slowly release the pressure and return the muscle to its natural position. Repeat the lift, squeeze, and roll sequence several times over the targeted area. Adjust your grip and pressure based on the client's feedback and the depth of tension. Move systematically across the muscle group to ensure even coverage.
Petrissage is particularly effective for areas prone to chronic tightness, such as the shoulders, lower back, and thighs. By consistently applying this technique, you can help clients achieve deeper relaxation and improved muscle recovery. Always communicate with your client to ensure the pressure is appropriate and beneficial.
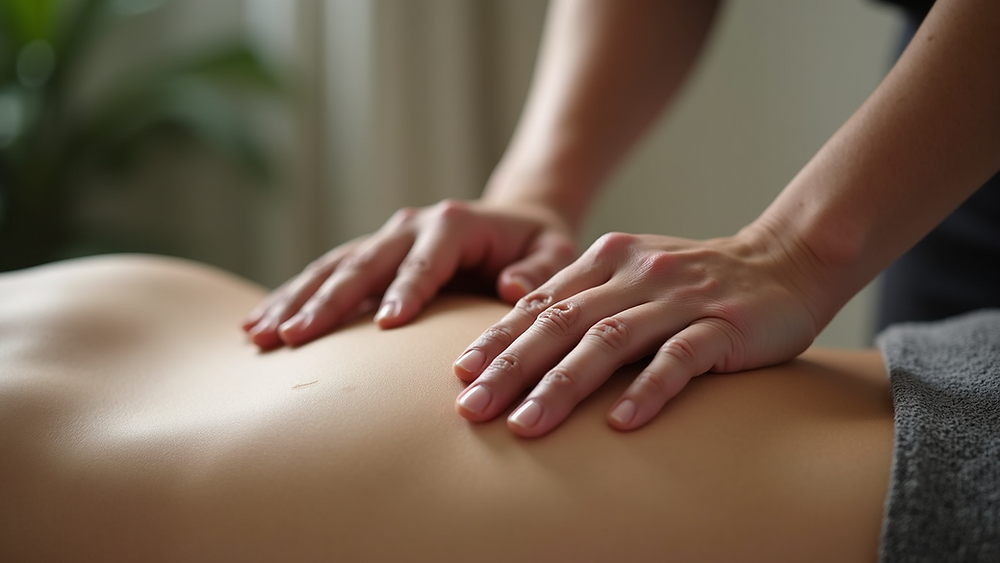
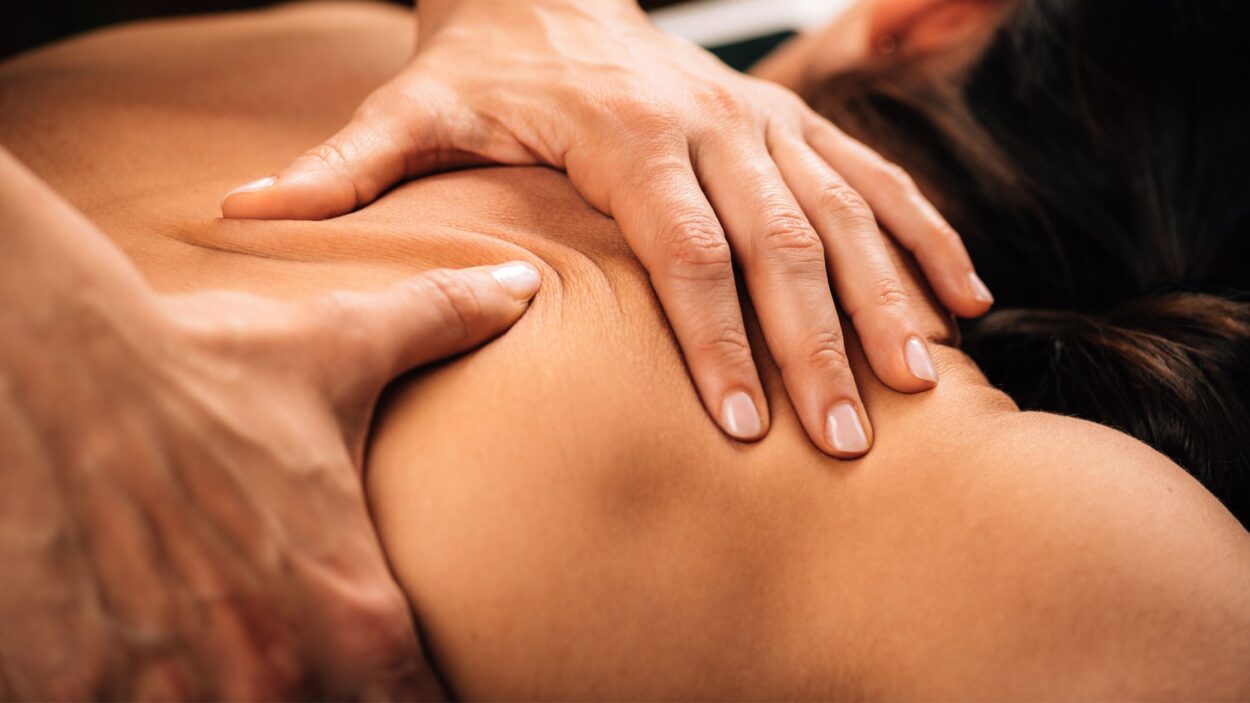
Incorporate friction for deep tissue
Friction is a specialized massage technique that applies focused, deep pressure to specific areas of the body. Unlike broad strokes used for relaxation, friction targets the deeper layers of muscle and connective tissue to break up adhesions and scar tissue. This method is particularly effective for relieving chronic tension in small, concentrated zones such as the shoulders, knees, or lower back.
AMTA lists friction as one of the five basic massage techniques, alongside effleurage, petrissage, vibration, and tapotement. It involves moving the fingers, thumbs, or elbows in small, circular, or cross-fiber movements. The goal is to generate heat and increase blood flow to the targeted area, which helps soften tight tissue and improve mobility.
Apply a generous amount of massage oil or lotion to the target area. This reduces friction on the skin’s surface, allowing your hands to glide smoothly while your fingers press deeply into the muscle tissue without causing irritation.
Position your thumb or finger pads firmly against the muscle. Use your body weight rather than just arm strength to apply pressure. This anchoring technique allows you to maintain consistent depth without fatiguing your hand muscles quickly.
Move your thumb or fingers in small, tight circles or across the grain of the muscle fibers. Keep the movements shallow enough to stay within the muscle belly but deep enough to feel resistance. This cross-fiber motion helps break up adhesions and realign collagen fibers.
Pay close attention to the tissue’s response. As the adhesions break down, you should feel the muscle soften and the resistance decrease. Stop if the client reports sharp pain, and switch to lighter pressure if the area becomes overly sensitive.
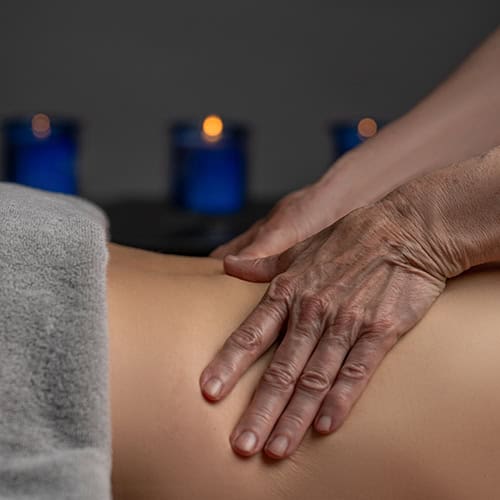
Finish with tapotement for stimulation
Tapotement serves as the invigorating finale to a massage session. The AMTA defines it as one of the five basic massage techniques, involving rhythmic, percussive strokes that stimulate the nervous system rather than relaxing it. This method is distinct from the soothing effleurage or kneading petrissage used earlier; its purpose is to wake up the muscles and increase blood flow to the area.
WebMD notes that these light, rhythmic tapping strokes are a hallmark of Swedish massage therapy, often employed at the end of a session to prepare the body for movement or to combat fatigue. The technique acts like a gentle percussion, rousing the tissue from a state of deep relaxation back into alertness.
How to perform tapotement
- Position your hands. Cup your hands to create a hollow shape, keeping your wrists loose and flexible. This shape allows the air to cushion the impact, making the stroke feel like a soft pat rather than a hard strike.
- Strike with rhythm. Use a steady, rhythmic motion to tap the muscle group. The contact should be light and quick, bouncing off the surface of the skin. Avoid using your fingertips; the broad, cupped surface distributes the force more evenly.
- Move along the muscle. Travel slowly along the length of the muscle fibers. For example, if working on the calves, start at the ankle and move upward toward the knee, maintaining a consistent tempo.
- Monitor the response. The skin should turn slightly pink, indicating increased circulation. If the recipient reports any discomfort or ticklishness that feels unpleasant, reduce the pressure or switch to a gentler vibration technique.
This final phase ensures the session ends on a high note, leaving the recipient feeling energized rather than drowsy. It is particularly effective for athletes or individuals recovering from physical exertion, helping to flush out metabolic waste products through increased circulation.
Compare techniques for your needs
Choosing the right massage technique depends on whether you are seeking immediate relaxation or targeted recovery from physical strain. While Swedish massage is the most common style for general wellness, involving soft, long, kneading strokes to promote overall calm [WebMD], deeper work is often necessary for athletic recovery or chronic tension.
The table below compares three foundational techniques based on pressure level, muscle depth, and primary use case. This comparison helps you identify which method aligns with your specific physiological goals.
| Technique | Pressure Level | Muscle Depth | Best Use Case |
|---|---|---|---|
| Effleurage | Light to Medium | Superficial | Relaxation, warming up muscles, reducing stress |
| Petrissage | Medium to Firm | Mid-layer | Releasing muscle knots, improving circulation |
| Friction | Deep | Deep tissue | Breaking up adhesions, targeted recovery |
Checklist for a safe session
Before you begin any massage therapy techniques for better recovery, a quick pre-session check prevents injury and ensures effectiveness. Follow this final safety protocol to protect both the therapist and the recipient.
- Check contraindications: Verify the recipient has no open wounds, recent fractures, or acute inflammation in the target area.
- Sanitize hands: Wash hands thoroughly and apply a clean, hypoallergenic lubricant to reduce friction and skin irritation.
- Secure the environment: Ensure the table is stable, the room is warm, and the recipient is positioned comfortably with proper support.
- Communicate pressure: Start with light pressure and ask for feedback to adjust intensity based on the recipient’s comfort level.
Common questions about massage
Understanding how often and when to receive massage therapy helps maximize recovery benefits without overworking the body. The following answers address the most frequent concerns regarding frequency, timing, and post-session care.
No comments yet. Be the first to share your thoughts!